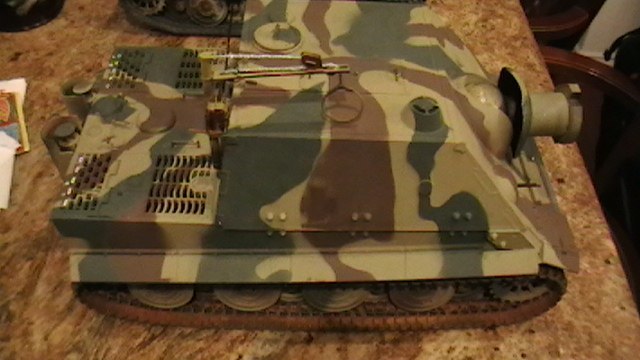
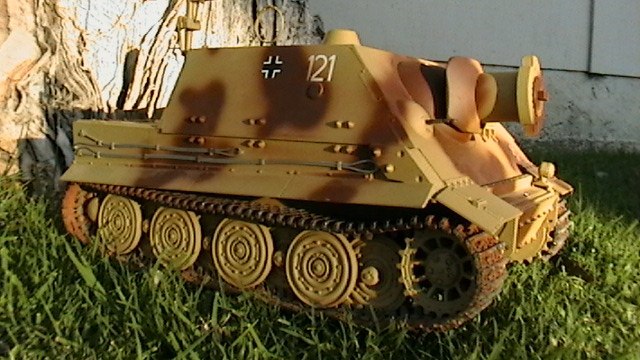
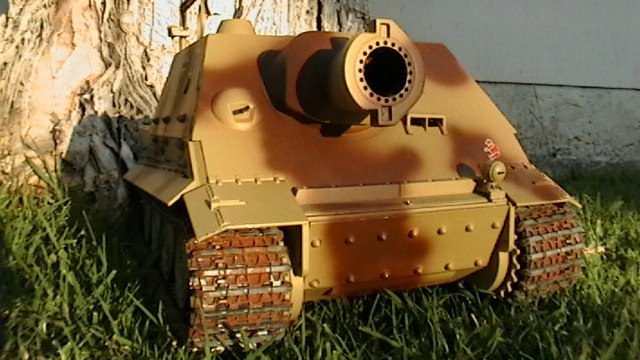
Our club has completed several unique vehicles to date and several of our members have wanted to do a SturmTiger. Aimee Ousley was the first to demand one completed and husband Jeff obliged without question. A definite “honey-do” if you ask me!
I will let Aimee pick up the narrative......
Matorro SturmTiger gets a makeover!
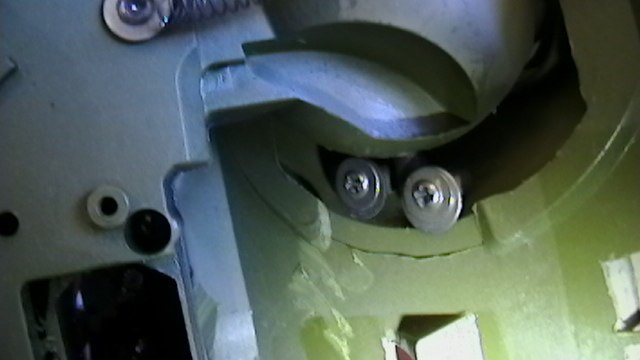
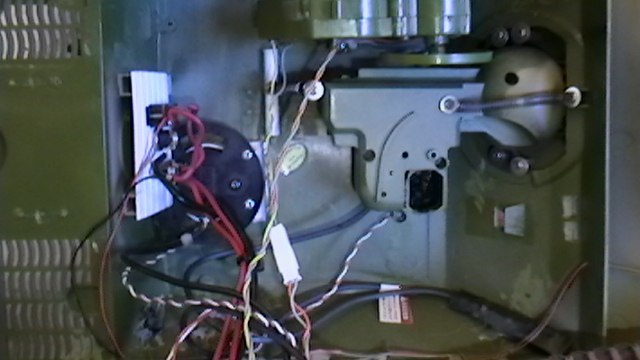
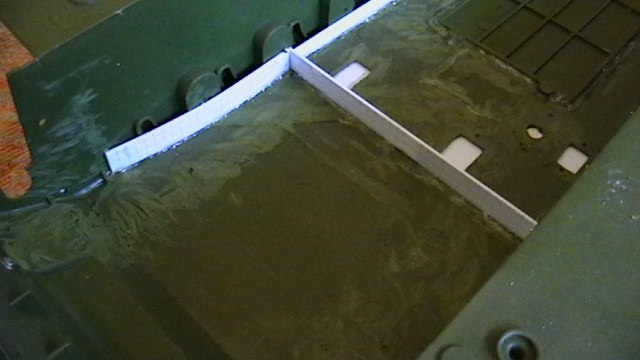
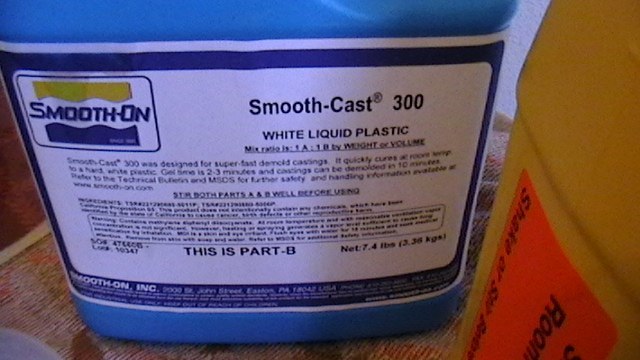
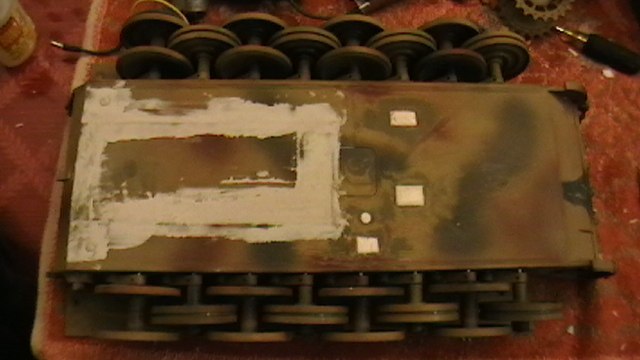
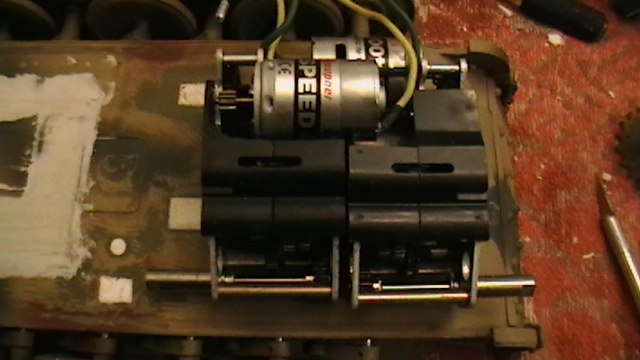
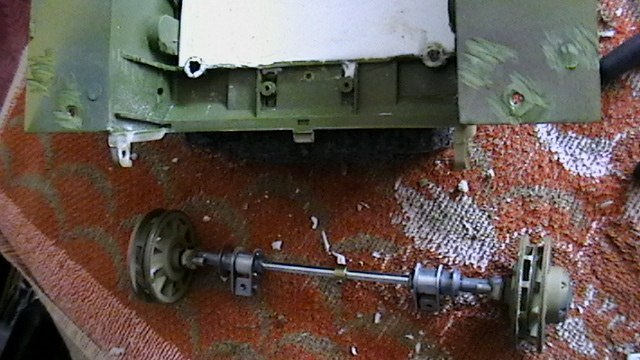
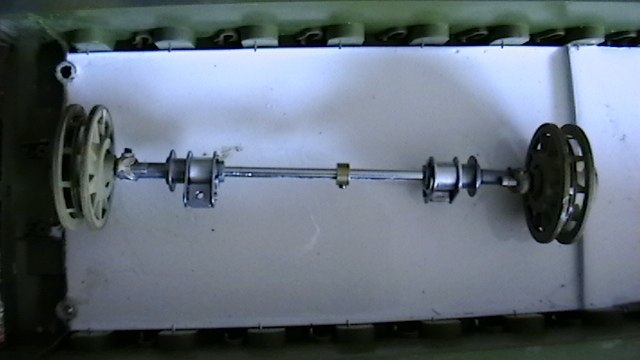
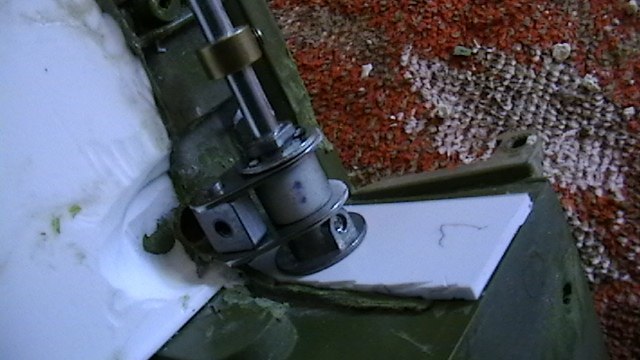
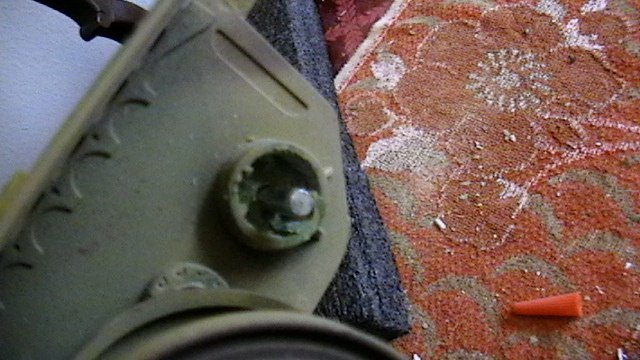
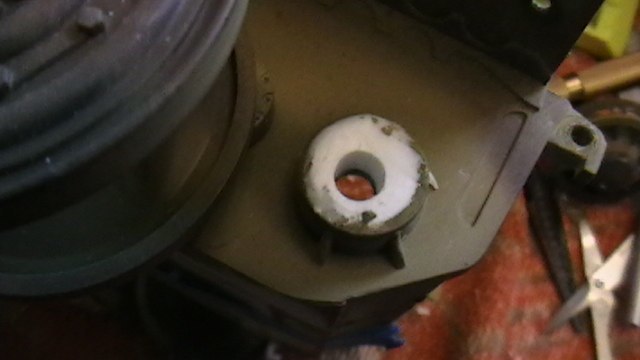
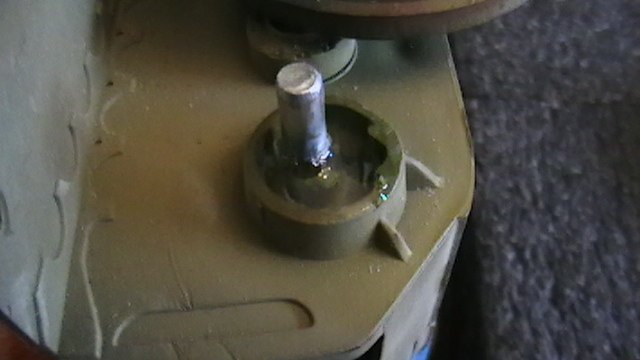
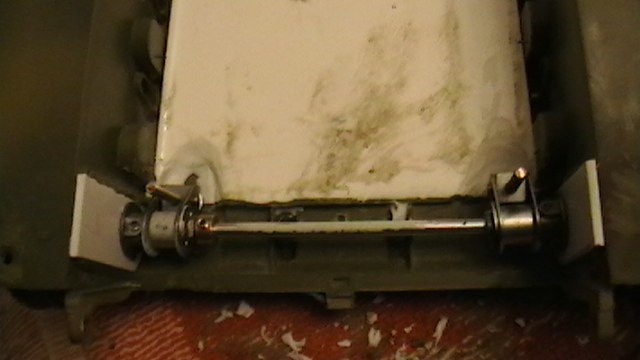
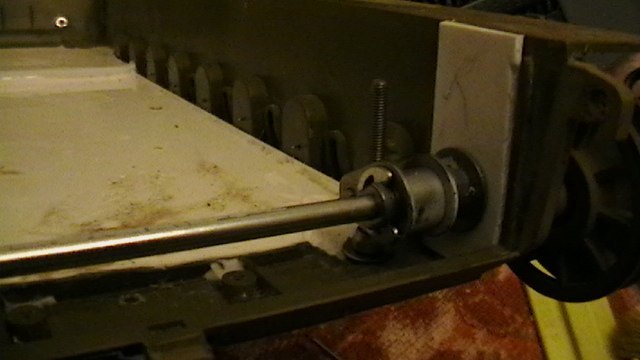
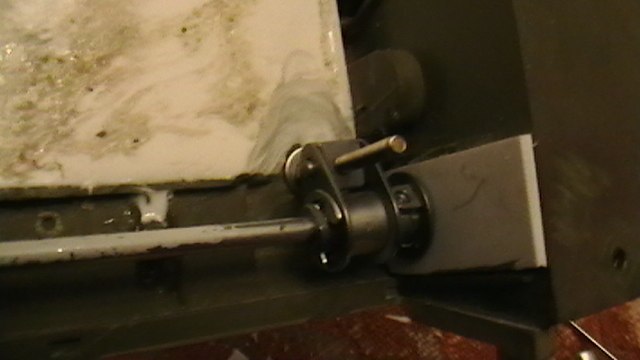
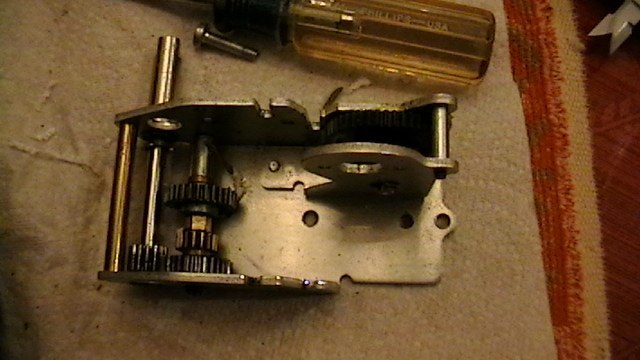
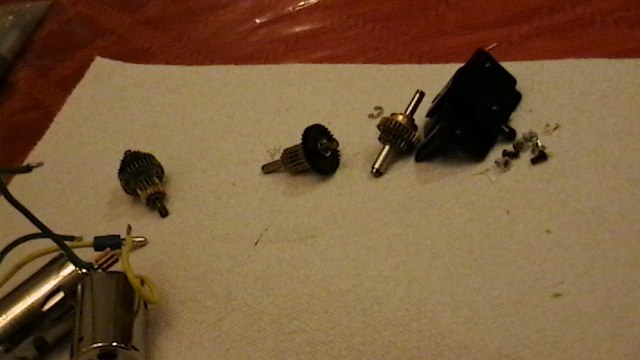
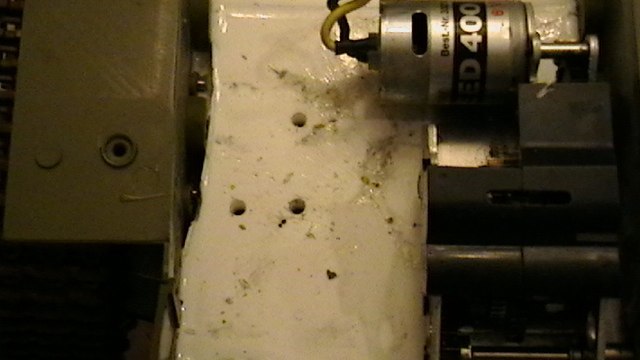
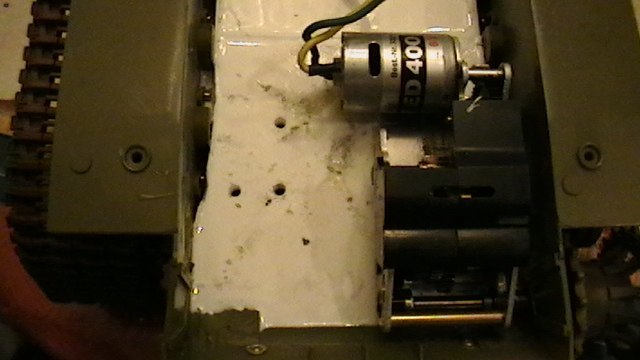
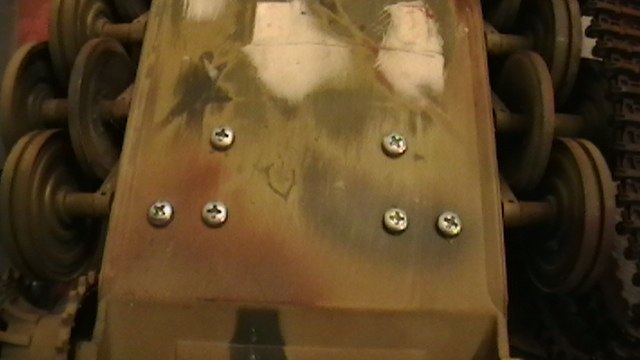
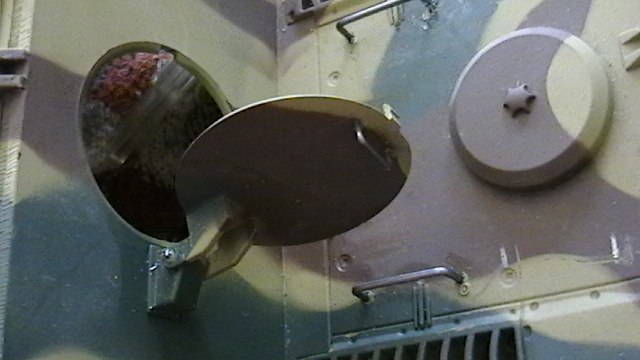
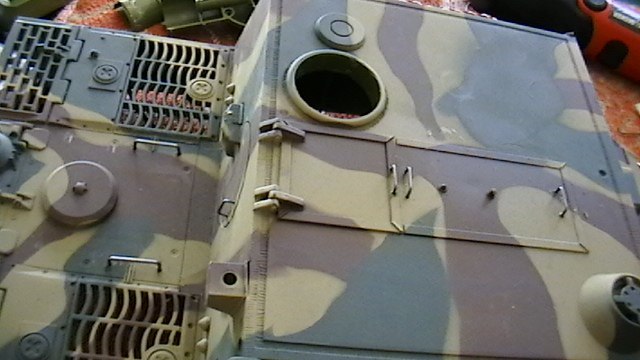
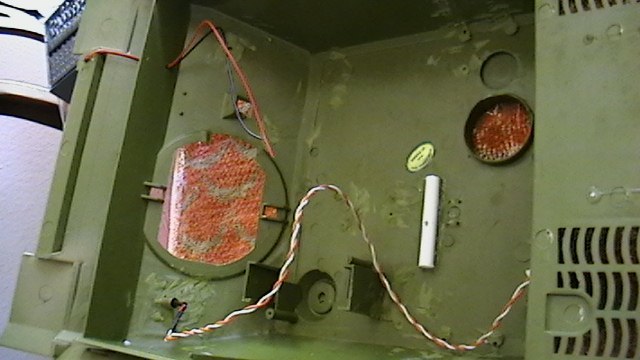
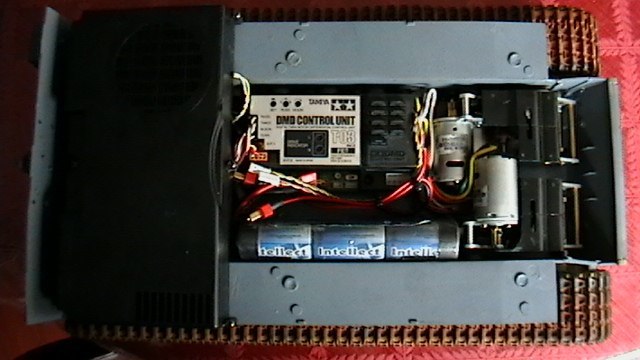
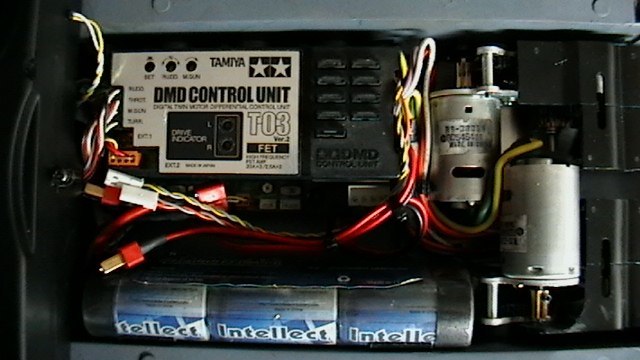
IMGA0187aIMGA0187bIMGA0187cIMGA0187dIMGA0187eIMGA0190Trunnion is important to our project. The elevation/ traverse is complicated in assault guns.The Mattoro unit is not “great” but will pass in a pinch.To begin, we decided what we were going to keep. The suspension, road wheels, (inaccurate) plastic treads, and upper/lower hulls will be reused. So apart it comes. The gearbox is removed, the speaker removed, treads come off, and the rear idler wheels are removed. What's left is the bare plastic.Next came the demolition. Stalagmites and stalactites (screw pillars), brackets and the battery box were Dremmeled away in a whirring cloud of plastic shavings. What's left looked horrible to me, but my husband thought it looked like progress…I'm skeptical.Thank goodness it is a Tiger..... Plentt of room at the Inn.Now that the demolition is done, we decided to tackle the bottom of the hull. We plan to install Type III Tamiya transmission units from a Tiger 1, and will need to get them securely mounted at just the right height AND we'll need to reinforce the hull bottom too.We decided to use some liquid plastic to pour in (just like cement). Under the transmissions, we'll pour it to the proper height (3/8 inch), and in the rest of the tank, pour in just enough to stiffen it up and plug all the holes in the bottom ¼ inch). First step was to form up the hull, to keep the liquid plastic out of the suspension.Next, we mixed up the plastic, and poured it in…A two part solution....The part A and B of the liquid plastic chemically reacts. During this process it gets pretty hot. Fortunately, the heat wasn't too much, and in no time at all, we had the proper height for our Transmissions and a very strong heavy hull. Just like the proverbial 2 birds with 1 stone!Level keeps the surface square and simplifies later assembly.Cures in a glassy white.Ready for business!Lower hull sanded flush. So far even the suspension units are safe.Next, we prepared to mount the TUs (since they were already semi-disassembled). We removed all the gears but for the final drive.To cut down on weight and use as much as the Sturmtiger as possible, we'll use the stock idler wheels, but make a few modifications. To begin, we split the idlers apart. They're pretty simple, and have a shaft extending through the inside half into the tank's hull. They've got a raised collar which surrounded the shaft. It looked much the same as did the hull's penetration point for the rear axle, which was also surrounded by a collar. We need to reinforce this.IMGA0157IMGA0158IMGA0159IMGA0160IMGA0161IMGA0162IMGA0163IMGA0164IMGA0165IMGA0166IMGA0167Once stripped, we could see the screw holes through the top of the TUs. We simply aligned the TU's right where we wanted them (we installed the drive sprockets on the loose TU, and moved it about (with the tracks on) until it was positioned just right). Once there, we marked and drilled the screw holes to mount the transmission through the bottom hull.IMGA0169A final "dress rehearsal" for the TUs …and we call them "installed" and ready.IMGA0171Now, on to the rear idlers. We decided that an adjustment system is a requirement for this tank, as we know the tracks wear and will stretch. We also might want to install metal treads sometime later on, so we've also got to really beef this area up. We dug through the part's box and found a complete extra idler assembly from a Tamiya Tiger 1. We decided to go with it, as it works pretty well in our experience. We assembled the unit, and test fit the stock idlers. The stock idler wheel shafts were a bit long, and we cut them down to fit. Another test fiIMGA0173IMGA0174IMGA0180IMGA0181IMGA0182IMGA0183IMGA0184IMGA0187IMGA0188IMGA0189IMGA0190IMGA0191IMGA0192IMGA0227IMGA0228IMGA0229IMGA0230IMGA0231