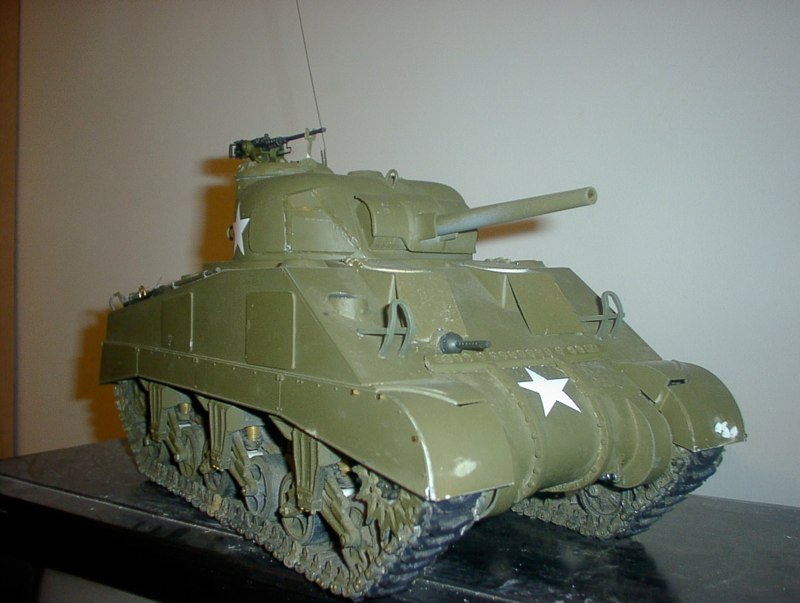
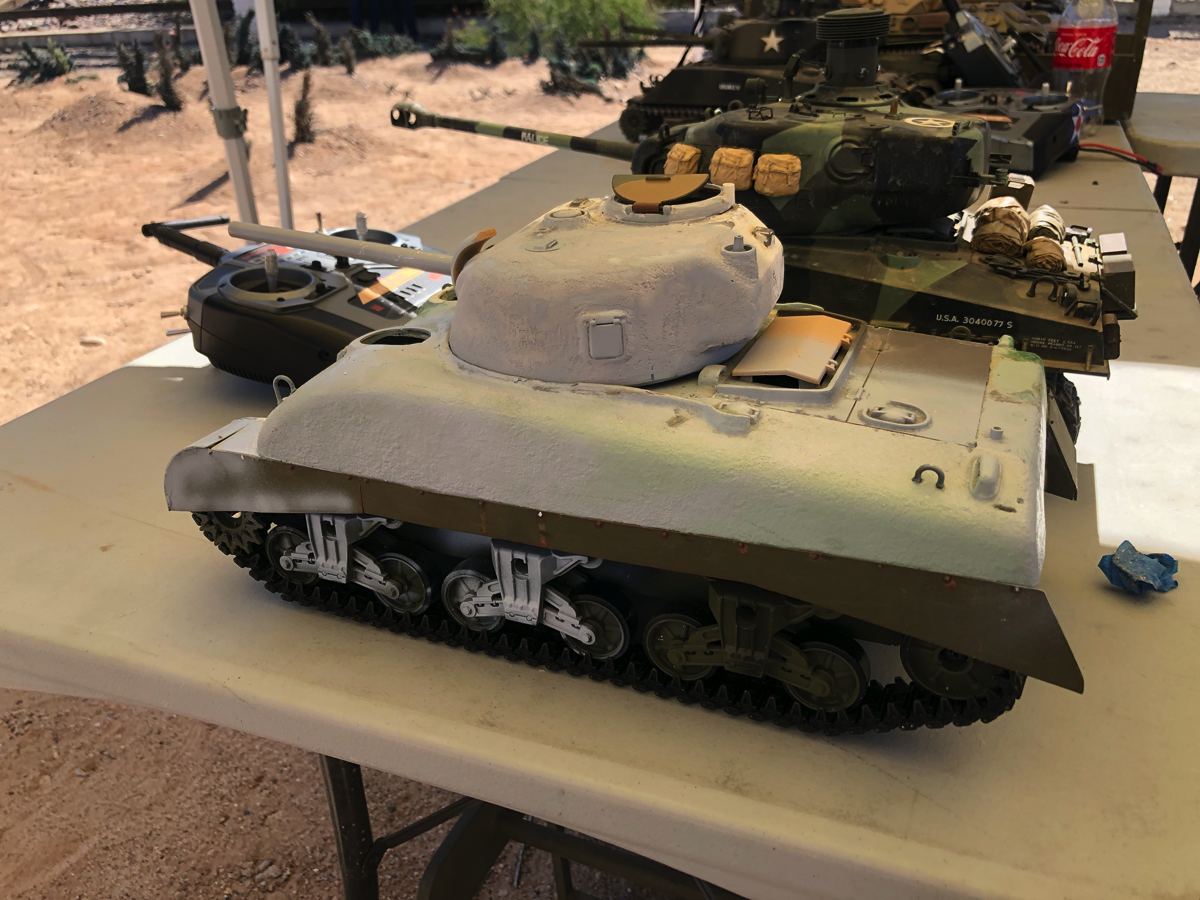
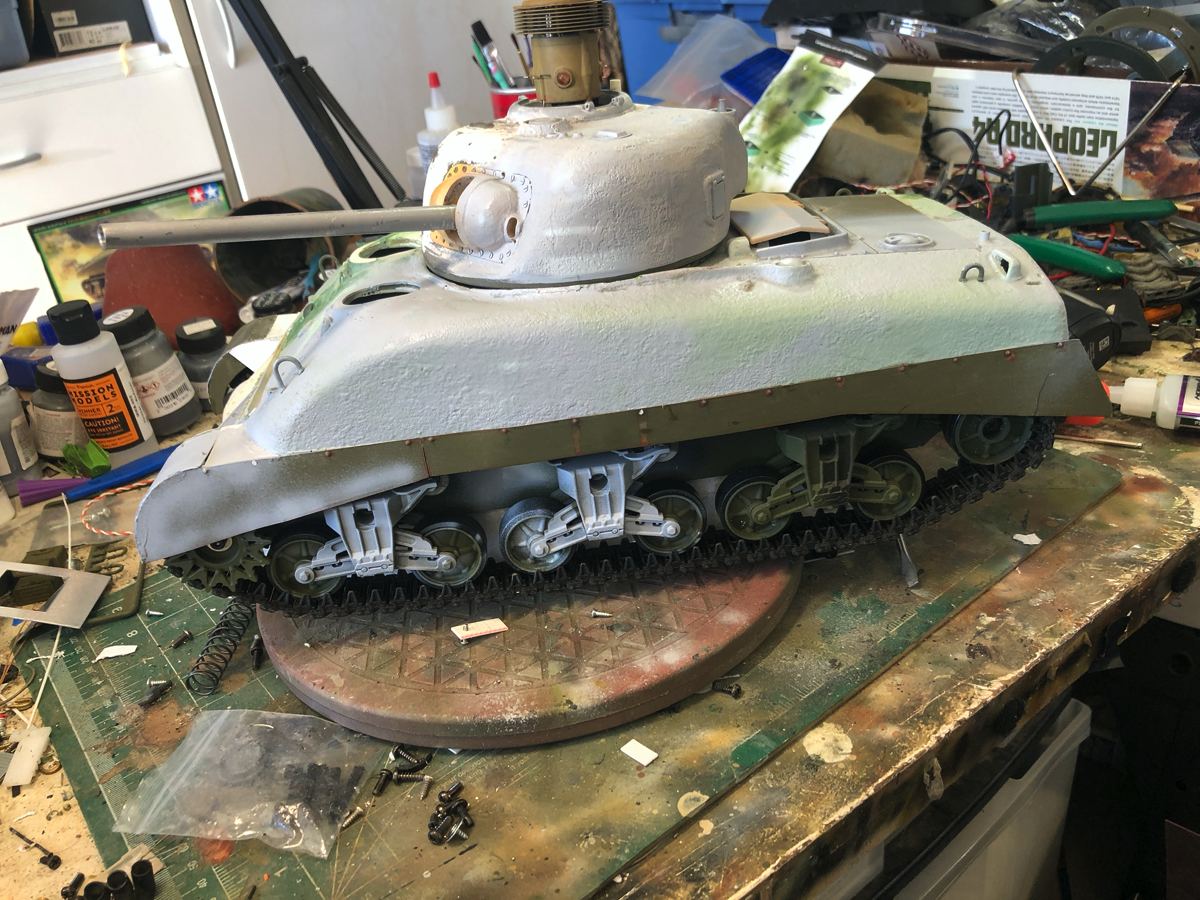
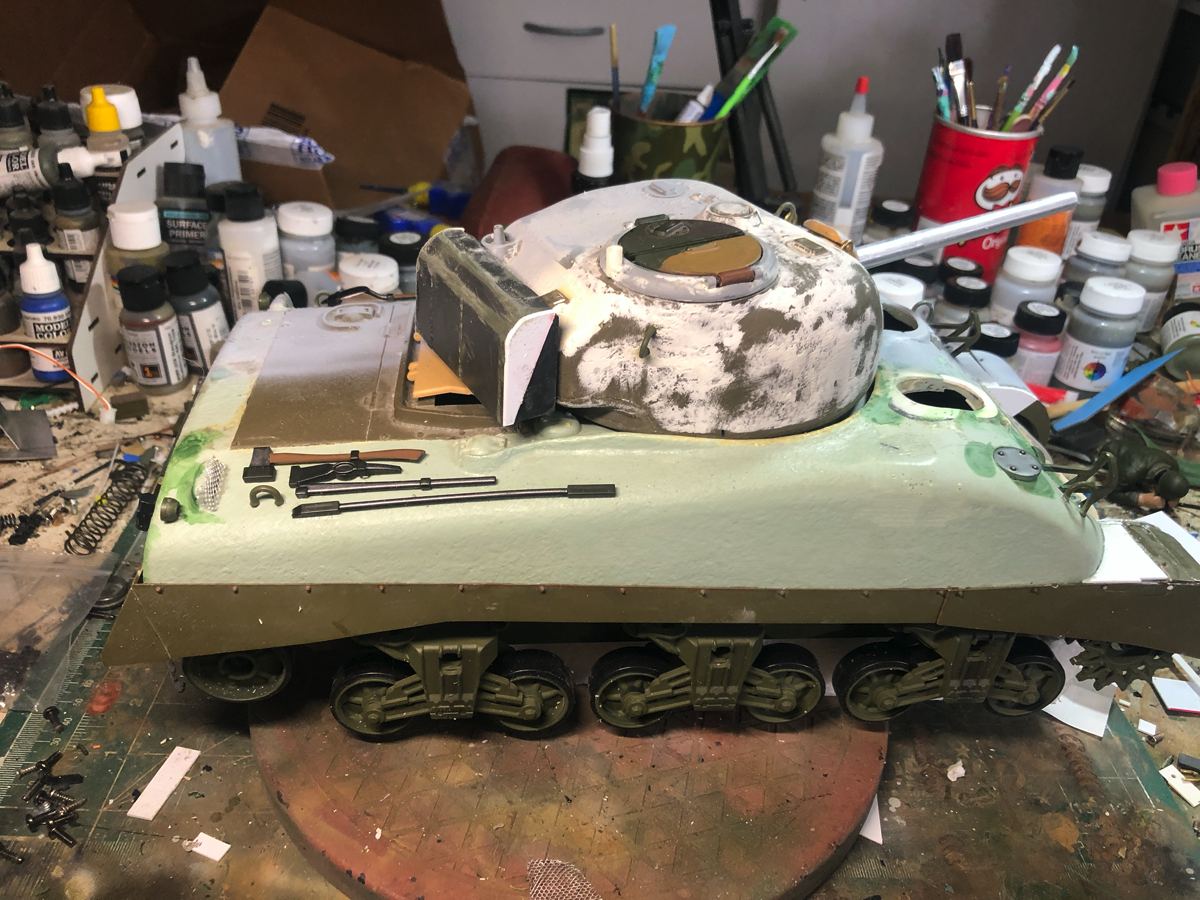
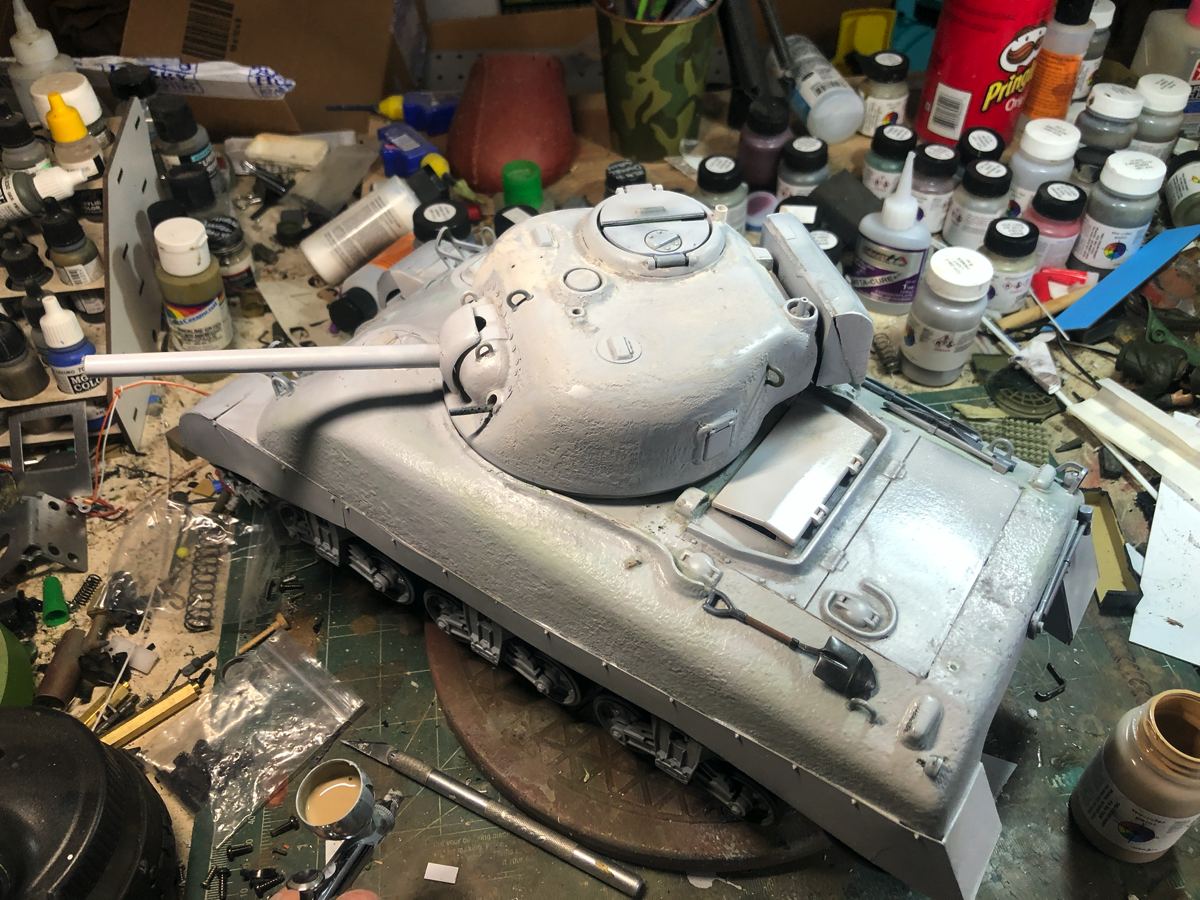
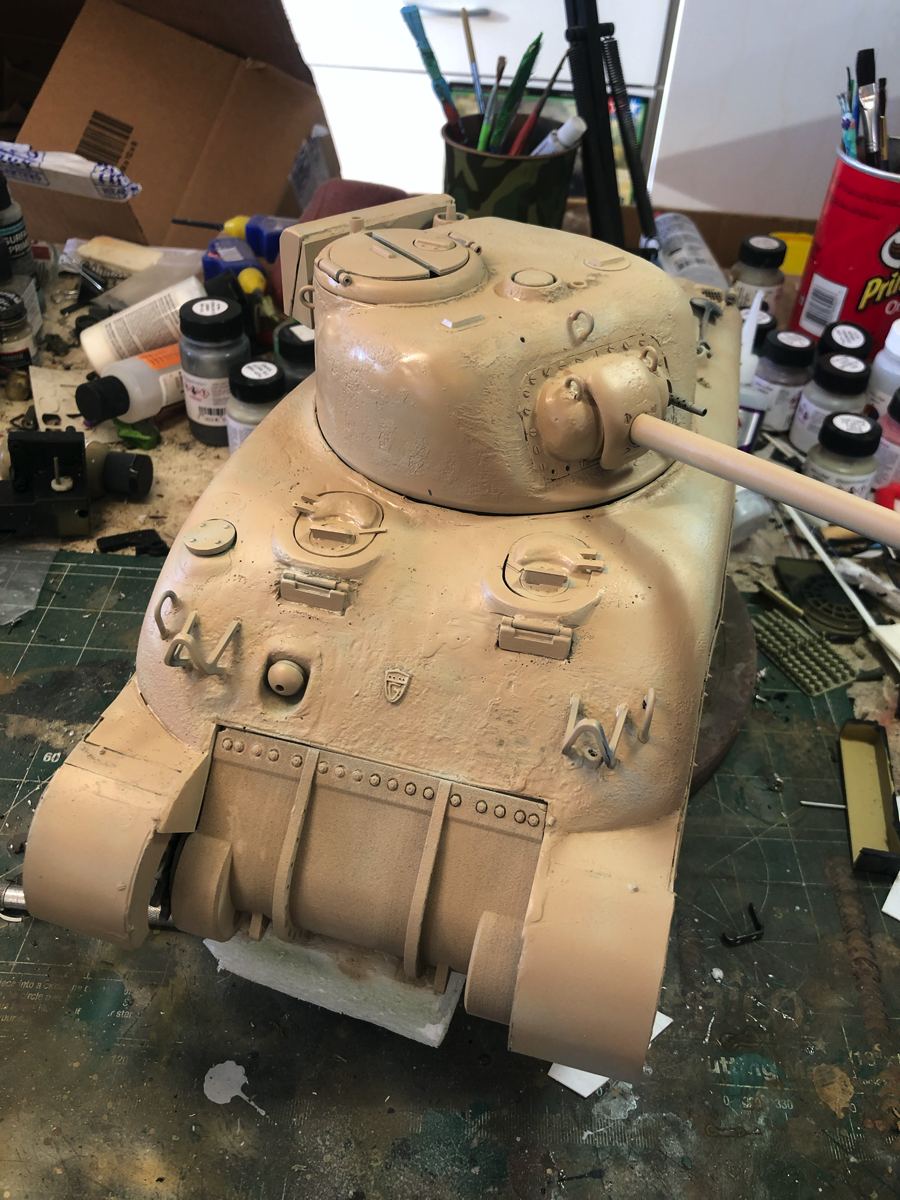
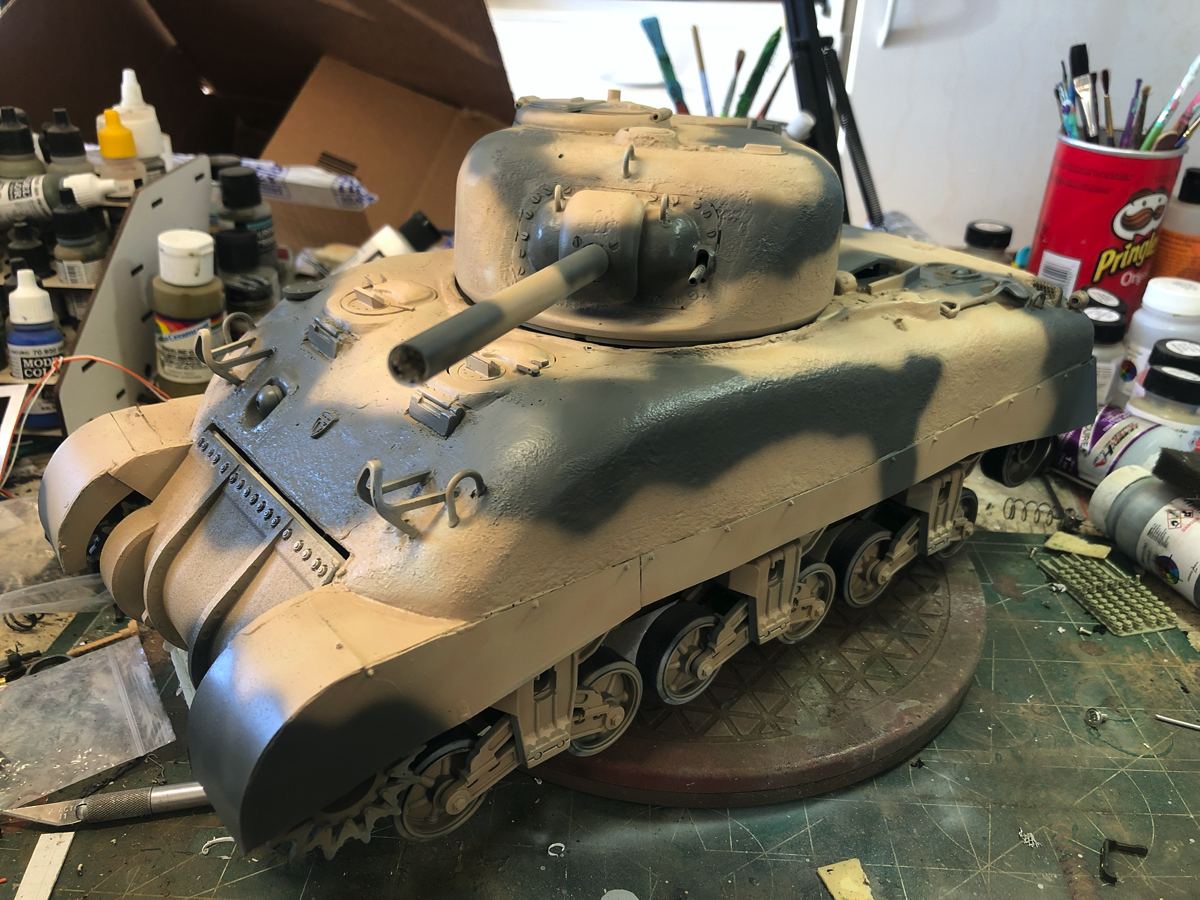
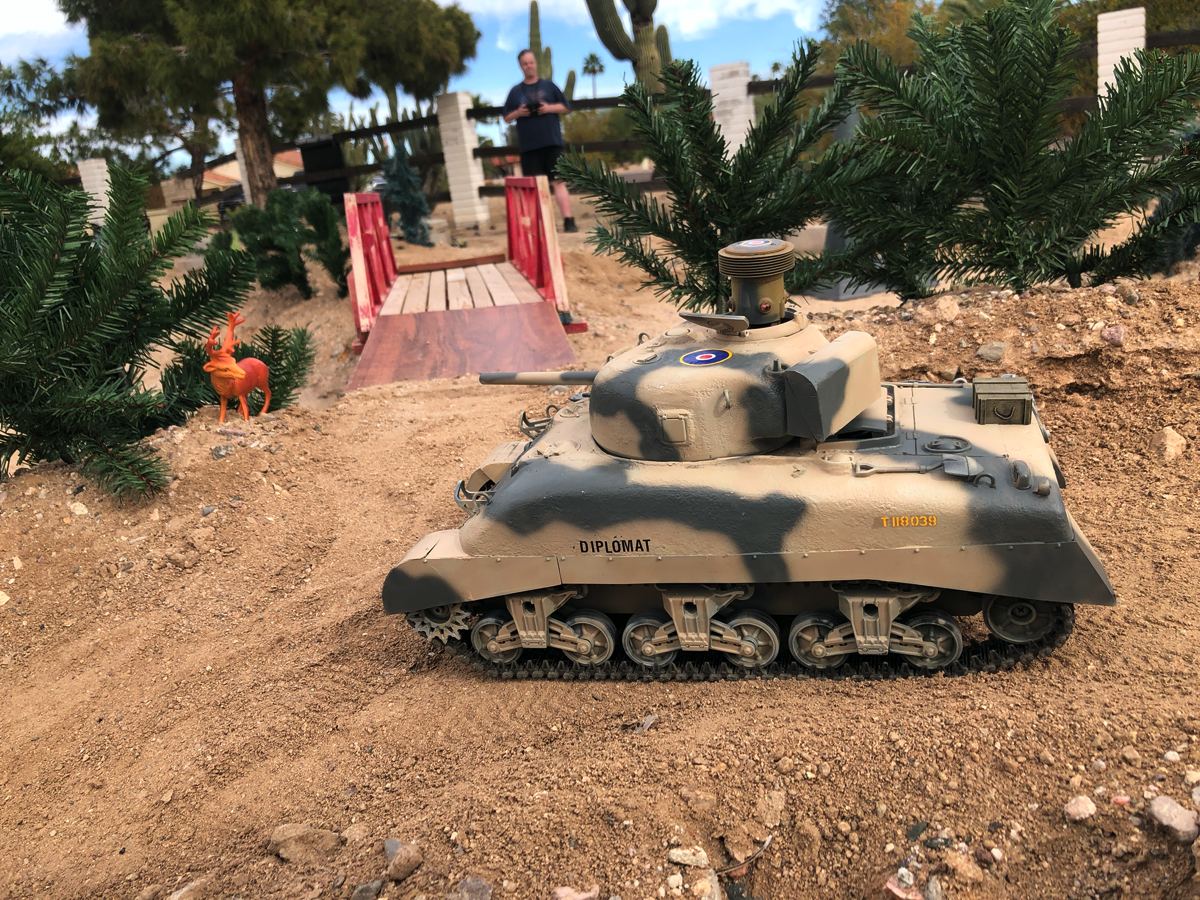
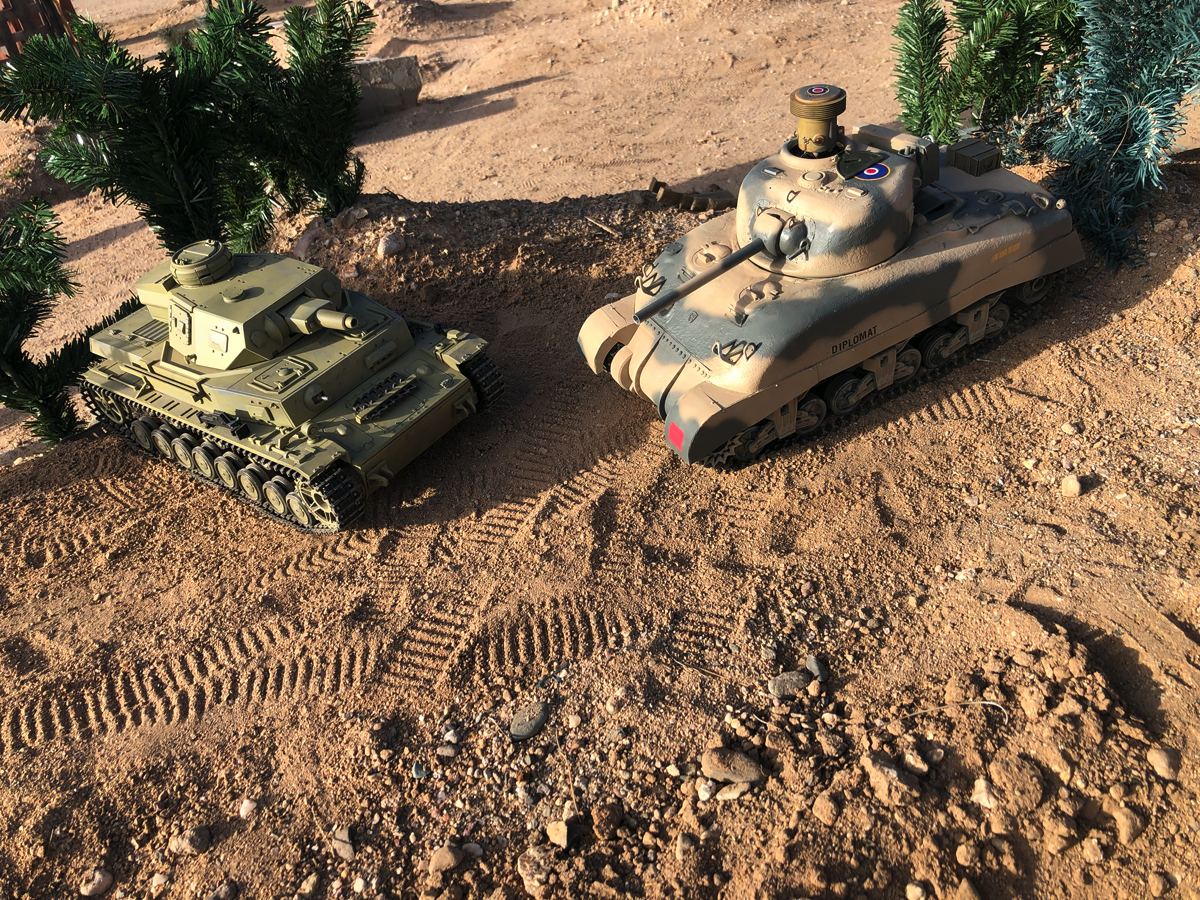
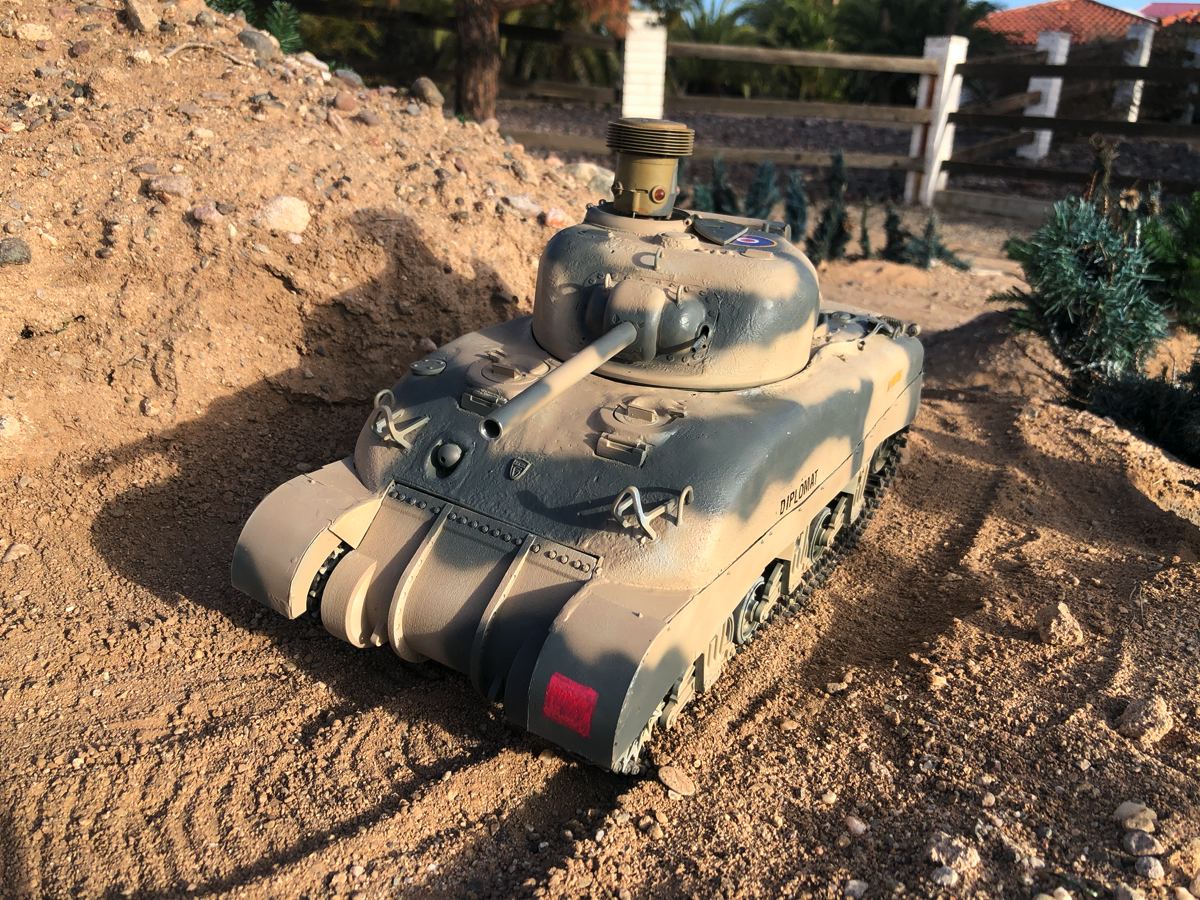
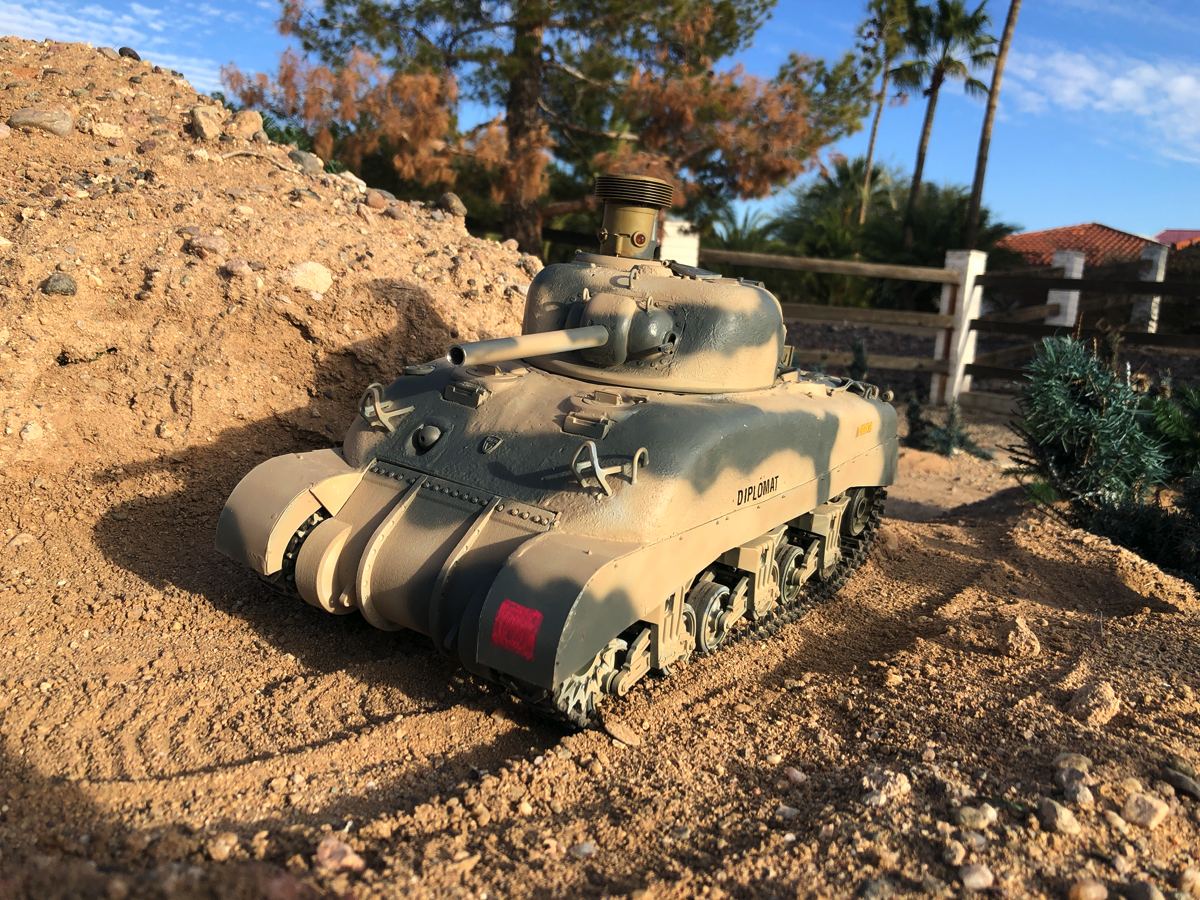
My oldest shelf queen Sherman has been resurrected for service
Building an Early model Sherman FROM El Alemain.
The Operational Debut of the Sherman
The Sherman tank entered combat in October 1942 with the British 8th Army at the battle of El Alemein. 300 M4A1 and M4A2 Shermans were transferred from the US Army’s 2nd Armored Division and sent to Egypt to bolster a depleted UK armored force that had been beaten back to the outskirts of Alexandria. DAK Panzers had outclassed the Matildas, Honeys and Crusaders in most engagements from Tunis to Tobruk. Entering the battle under the code name “Swallow”, the British tankers modified the Shermans quickly to suit their needs and get them into battle. The Sherman would be a surprise to the DAK armor and held its own against Panzer III an IVs. Their numbers and mechanical reliability helped drive the Axis out of Egypt.
Initial Construction
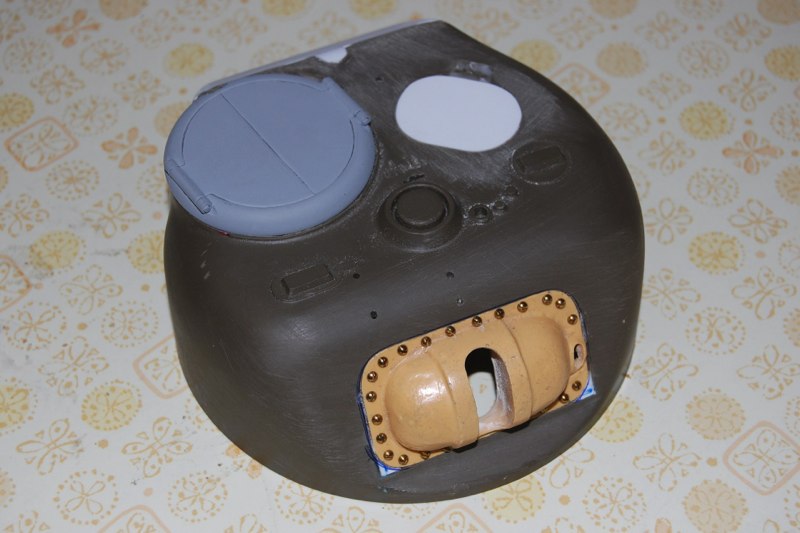
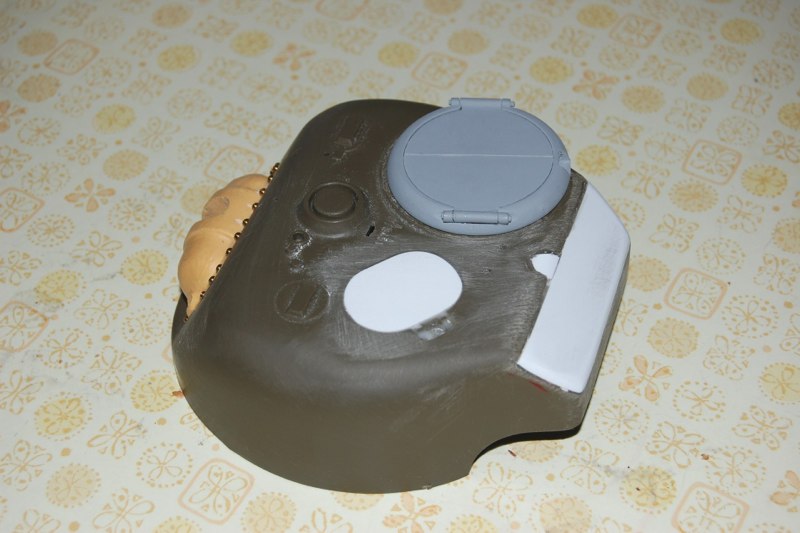
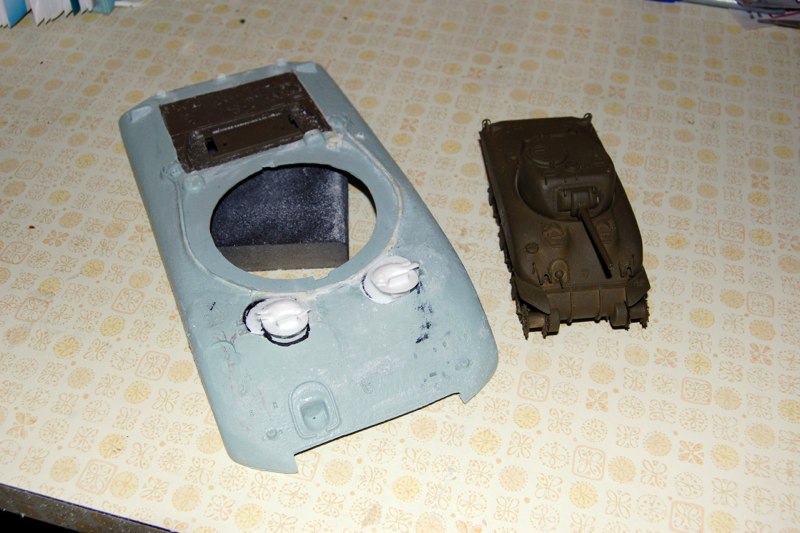
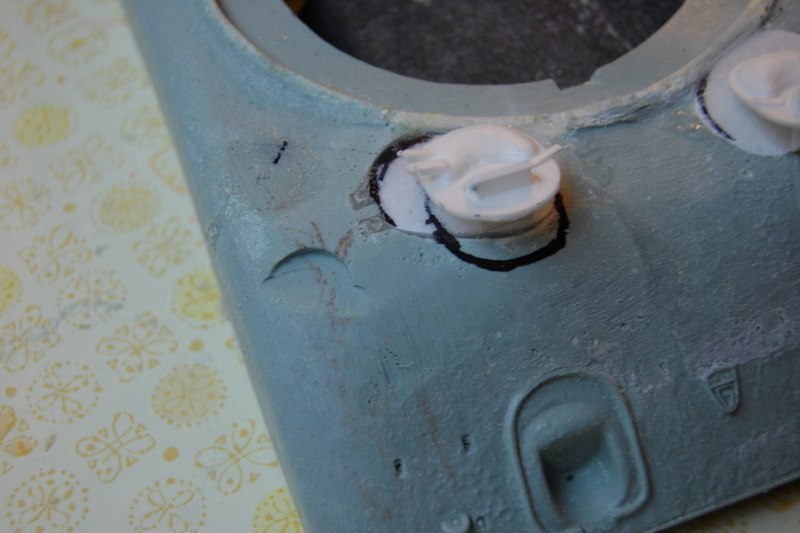
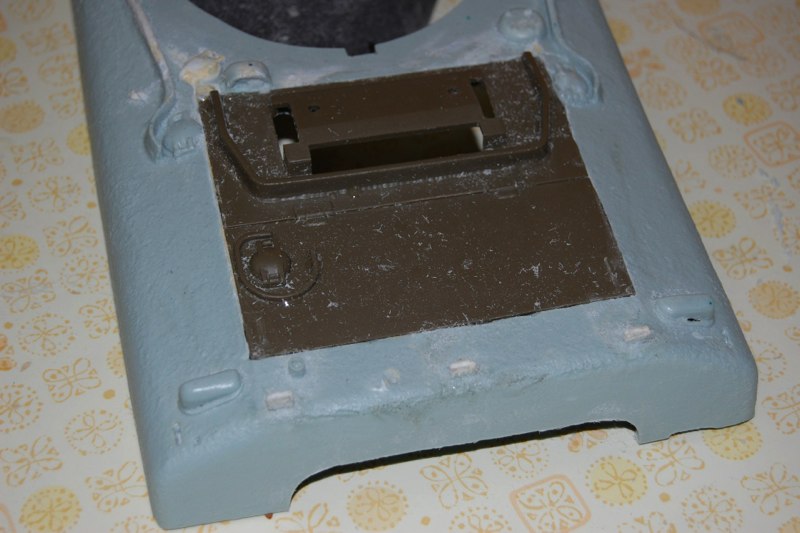
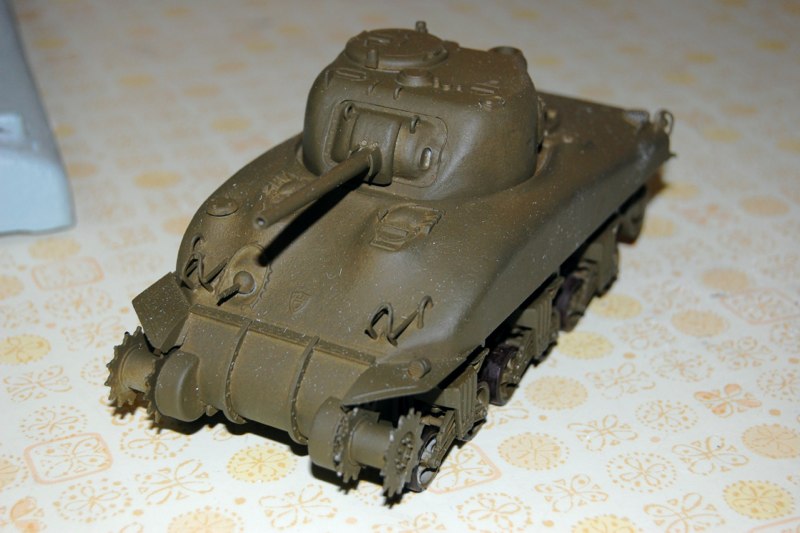
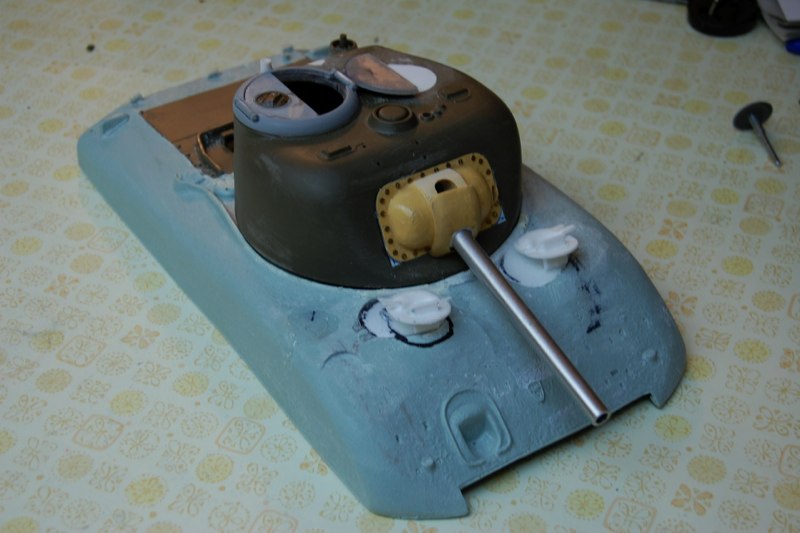
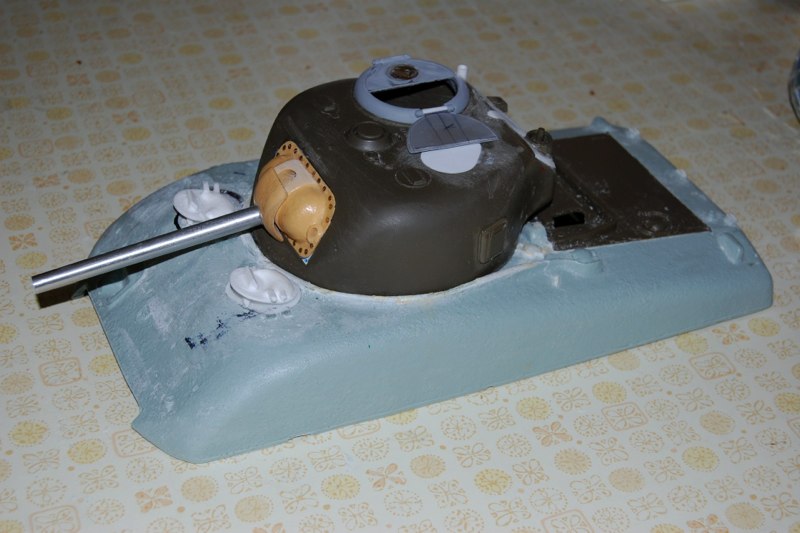
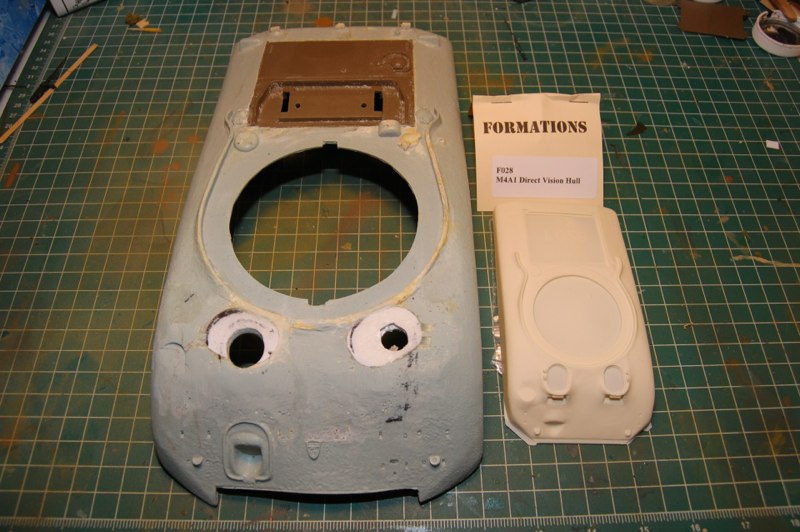
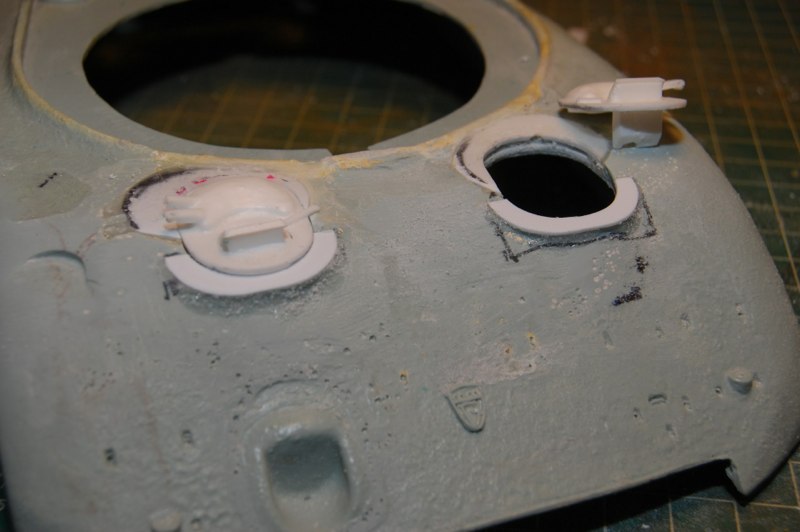
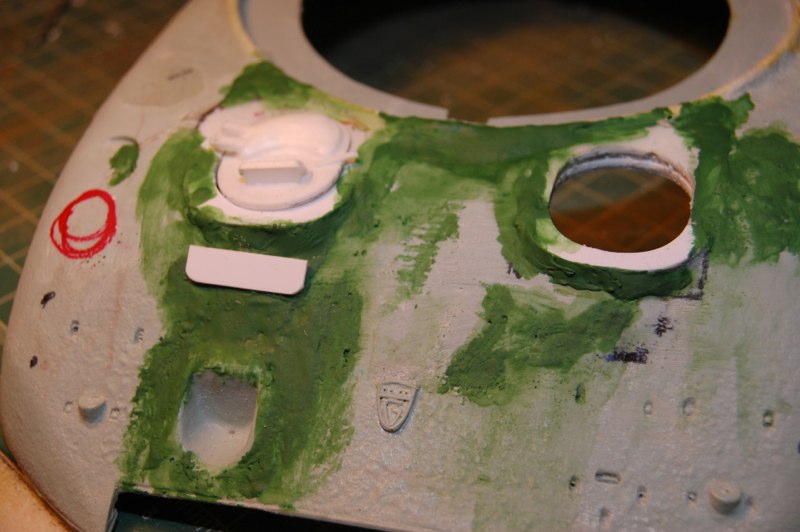
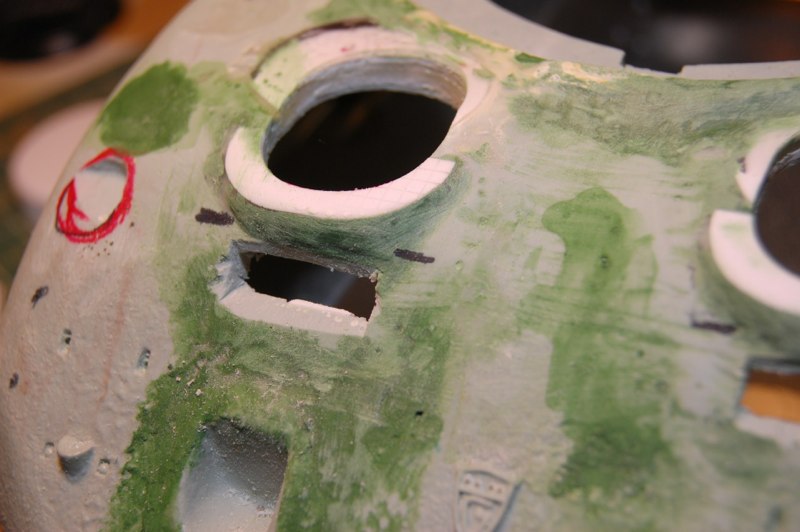
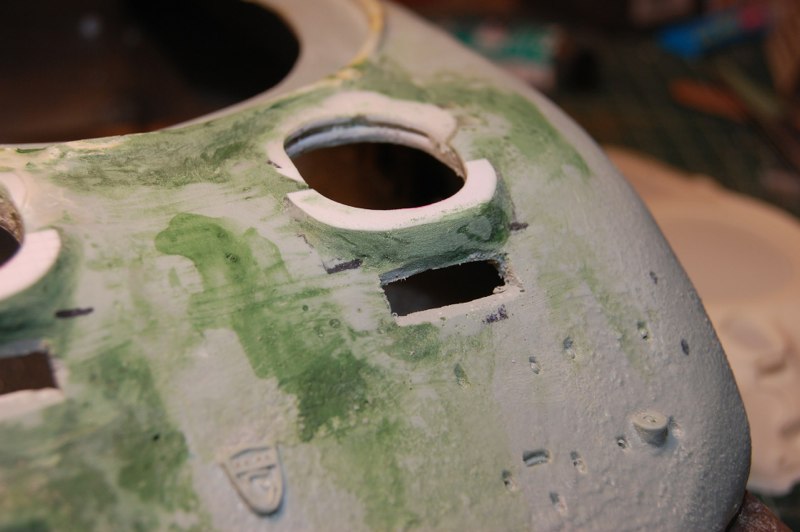
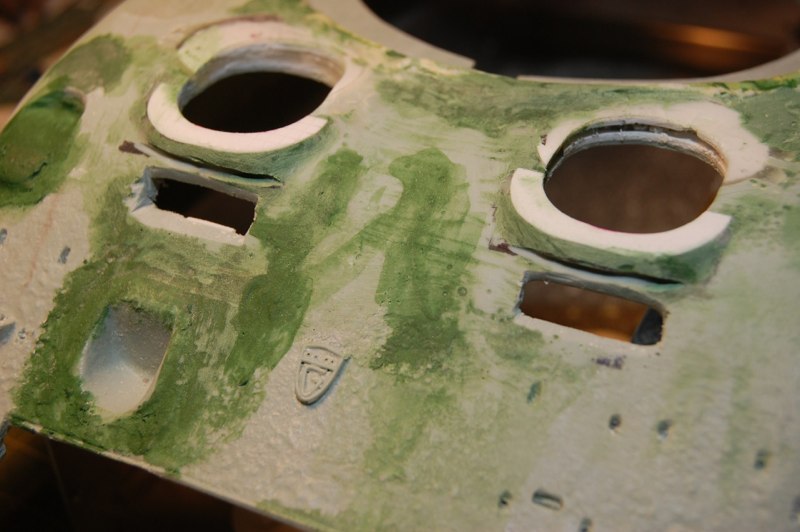
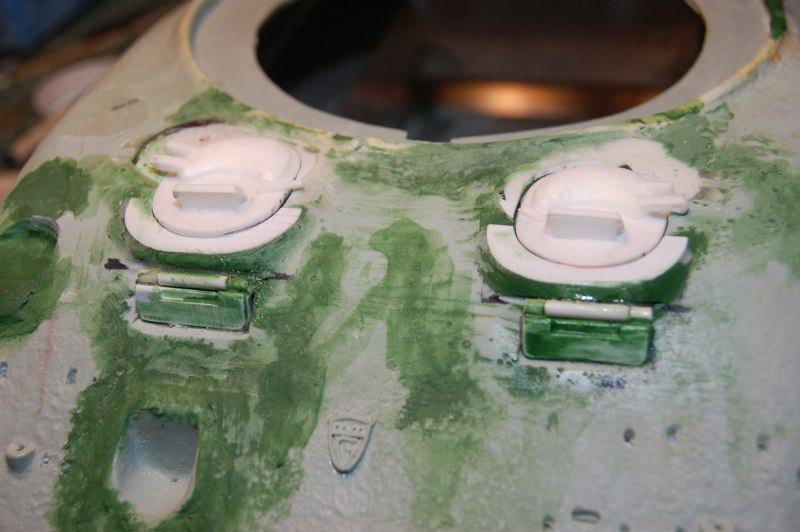
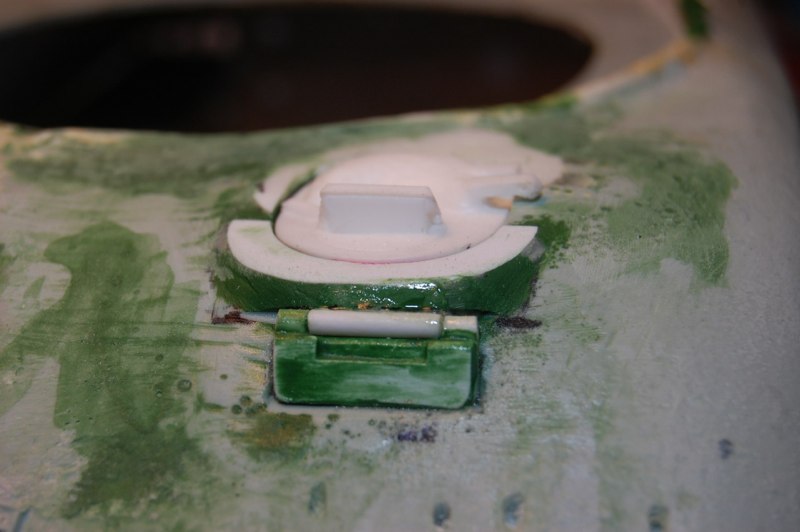
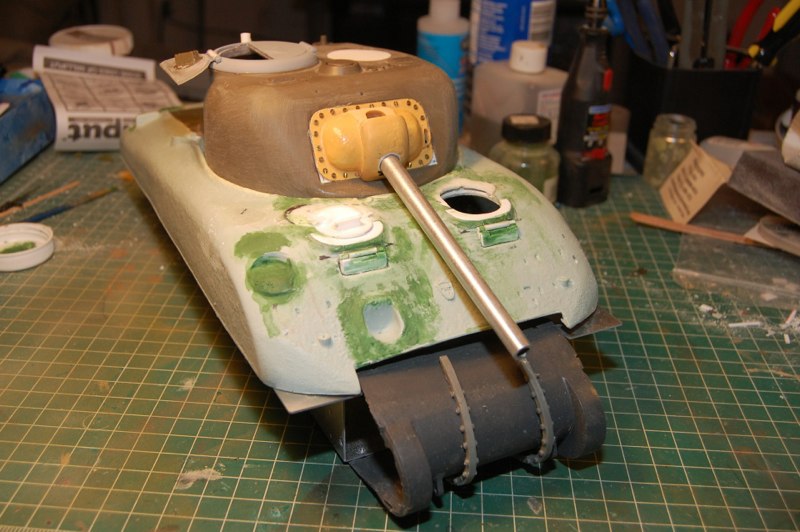
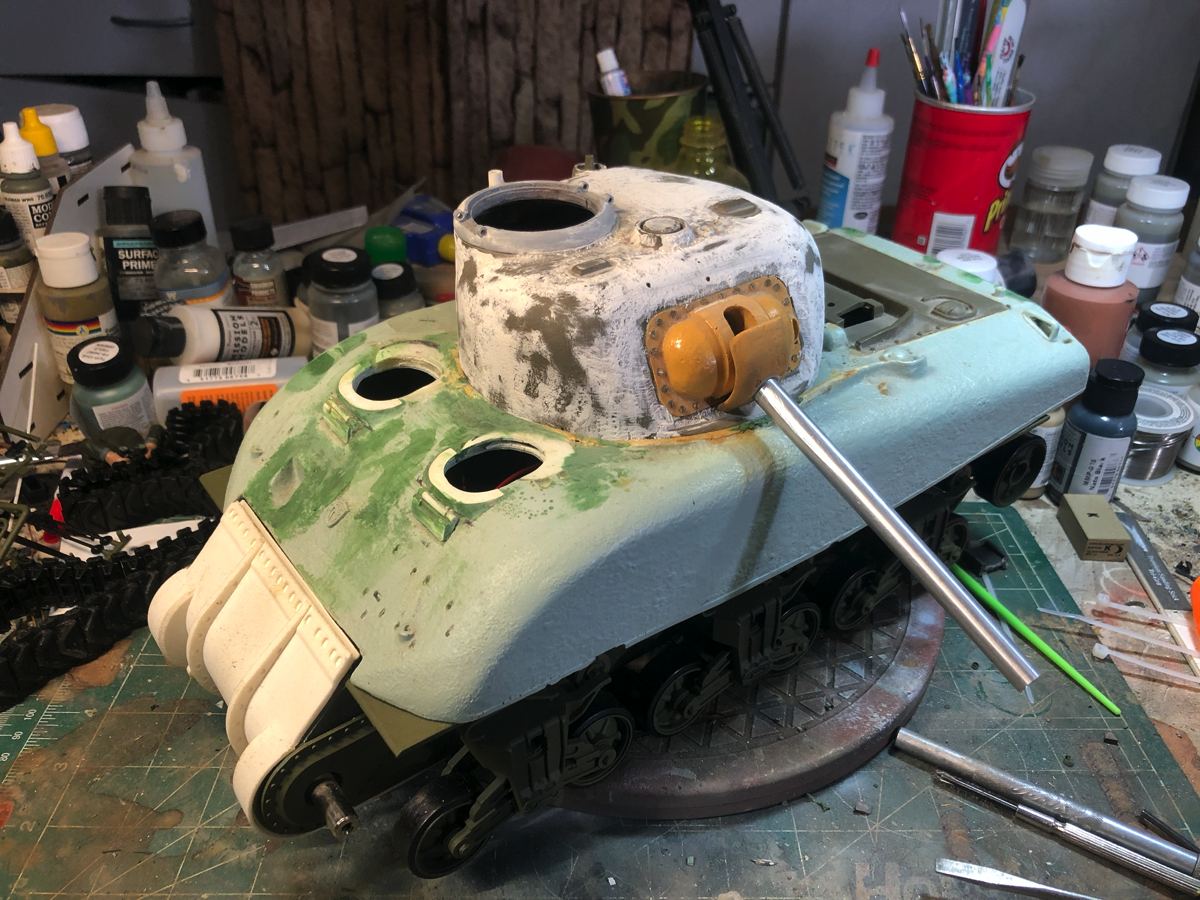
Somewhat inspired by Tiff Williams and the extreme challenge of this project, I took out my old 21st Century toys Sherman and began scavenging components. A surprise twist has arrived! I acquired a cast hull sample from Nick Aquilar and decided to reshape it onto the early variant!Ron Bair of SCAT provided the starting point of this kit in a split commanders hatch and early mantlet. This proved to be an early opportunity to add real bolts to my kit.I cut down the bustle and sealed the loader‘s hatch to get the correct early shape.The Hull was a write off due to warping and a few other blemishes so I replaced the engine deck with the leftover part from my original Easy Eight conversion and began grinding and sanding with my 1/35 scale M4A1 kit as an example.I will have to add the direct vision ports and other accessories but Nick also included early style hatches.The hull has severe warp issues that I will deal with by reinforcing the inner hull.Now I add the early turret I am working on..... looks good so far!Time to work on the hatches. I am using a Formations 1/35 hull to be my inspiration.Nick Aquilar also provided me with some early hatches I can use so I begin the shaping portion of this build by cutting the appropriate holes and using styrene to build up the edge of the hatch ring where the direct vision hinges exist.Liberal use of squadron green putty and sand paper has allowed me to begin thinking of where the armored louvres will go. I will build them out of styrene and they will be completely cosmetic.Not my best work but I am learning as I go.I will build them as if the would work and the next steps include cutting the channel for the hinge and cutting out the actual vision blocks.Styrene, putty, and CA, can turn into a nice model if given the chance.As I said, SAND, PUTTY, SAND, PUTTY!With the subassemblies together for a group shot, it is starting to look like a tank!