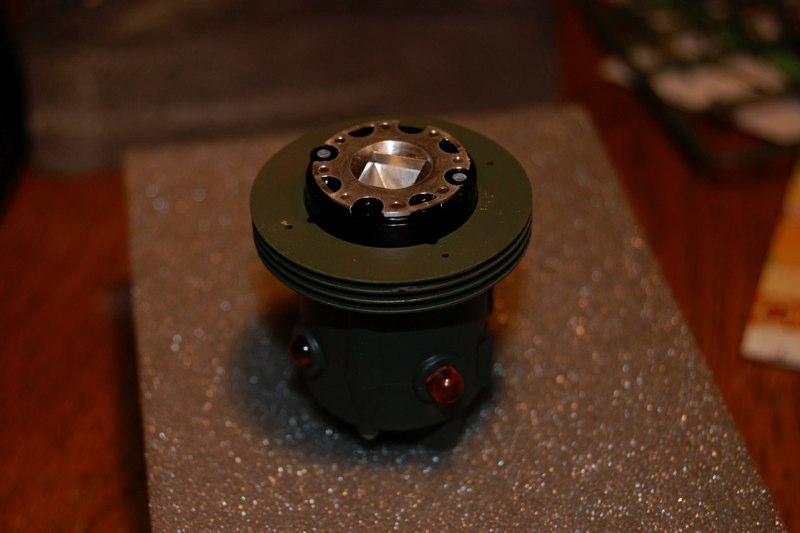
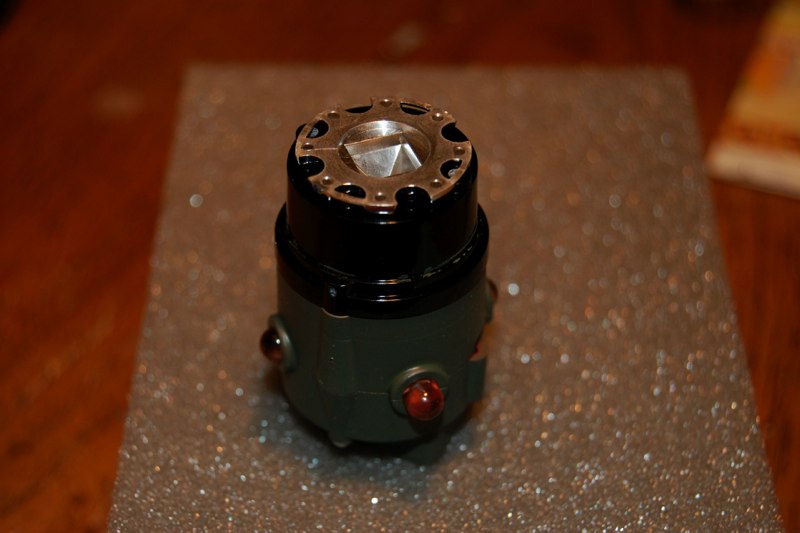
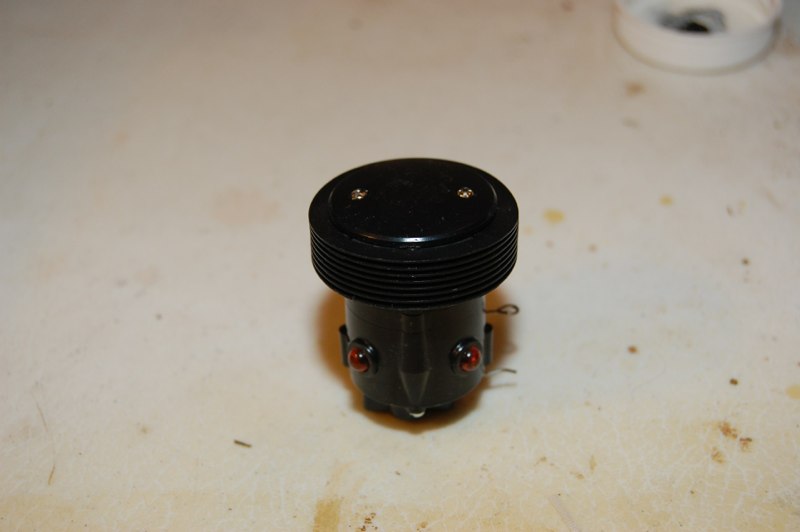
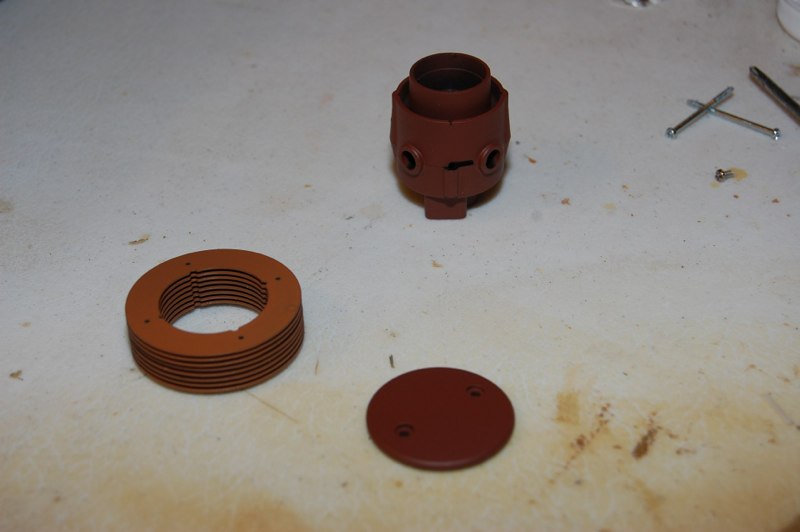
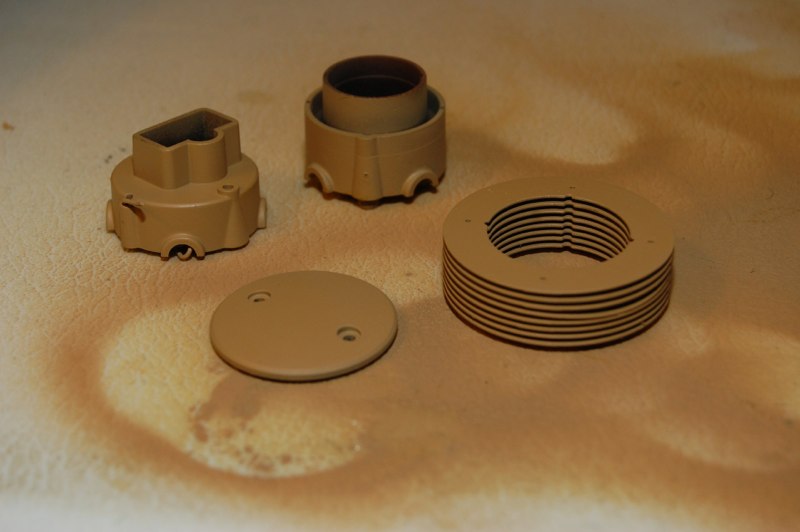
Painting the TBU Apple to match your vehicle is a final step that adds some personal style to your paint scheme.  I prefer to add the national logo to the top as well.  I have included a how-to as I have been asked repeatedly, “how do you paint that thing?”  I have included pictures of my SU-122’s TBU in the paint shop.

OOB it is shiny black plastic that screams for detail.
It includes several parts that shouldn’t be painted.  I use a small phillips head to remove the top and bottom screws.
It includes several parts that shouldn’t be painted. I use a small phillips head to remove the top and bottom screws.
These parts should not be painted.  Top left, sensor.  Top right, reflector.  Bottom right to left sensor housing and sensor cover.
These parts should not be painted. Top left, sensor. Top right, reflector. Bottom right to left sensor housing and sensor cover.
I used Tamiya NATO Brown spray as primer.  It is important to paint the TBU the same way as your kit as it may effect the overall finish.
I used Tamiya NATO Brown spray as primer. It is important to paint the TBU the same way as your kit as it may effect the overall finish.
After airbrushing Testor’s Russian armor green I began to reassemble the TBU.  Sensor goes back into housing first.
After airbrushing Testor’s Russian armor green I began to reassemble the TBU. Sensor goes back into housing first.
The sensor is sandwiched with the next piece and the black lens cover pops back into place above the sensor eye.
The slats reassemble into a louvered stack that slips back around the outside of the sensor housing.
The black sensor housing now goes back above the eye and the silver reflector fits on top.  The two bottom screws can now be refastened.
The black sensor housing now goes back above the eye and the silver reflector fits on top. The two bottom screws can now be refastened.
Put the top back on with the provided screws And you are done.  If you weather the TBU to mach your tank, be careful to not paint over sensors.
Put the top back on with the provided screws And you are done. If you weather the TBU to mach your tank, be careful to not paint over sensors.
A last step I have added is replacing the top screws with 00-72 hex head bolts.  The will be painted to match when the kit is complete.
A last step I have added is replacing the top screws with 00-72 hex head bolts. The will be painted to match when the kit is complete.
Another kit on the table was my DAK Tiger.  I will give the TBU the same treatment.
Another kit on the table was my DAK Tiger. I will give the TBU the same treatment.
This time I primed the kit with Rustoleum red primer.
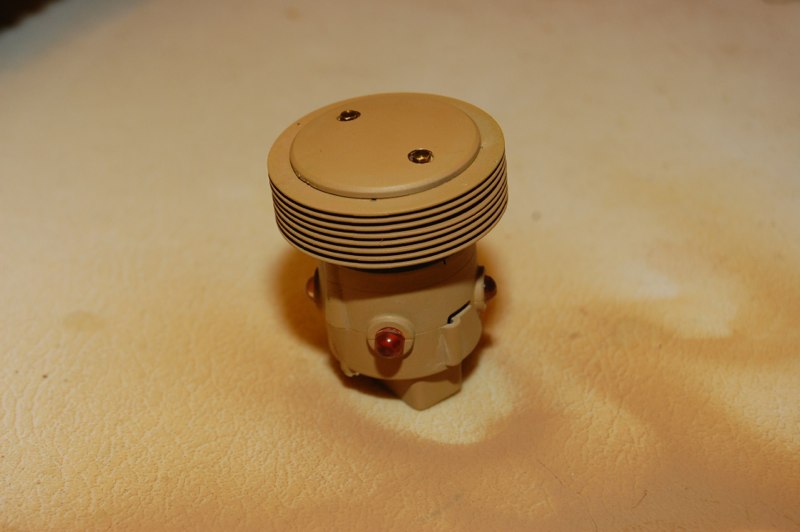
Then the parts were painted with Tamiya Desert Yellow (XF-59) for a true North Afrika look.
The receiver is now reassembled and ready for decals.
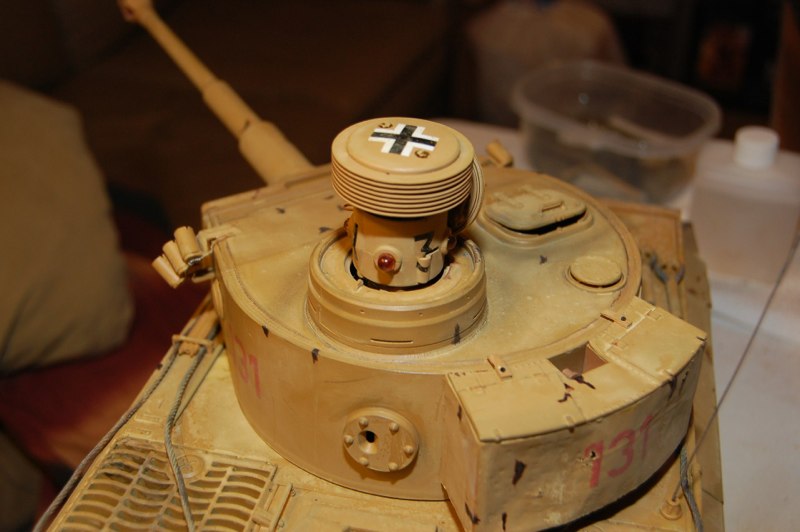
I added the Balken Kruetz and weathered the tan portions of the TBU to match the tank.  Looks good to me.
I added the Balken Kruetz and weathered the tan portions of the TBU to match the tank. Looks good to me.