...One question I get.. “What color do we paint the Sherman’s?” The answer as always is complex. the OD paint scheme is a factory applied paint scheme matching federal standards and was dried using heat lamps. The standard changed slightly over the war years but the shade basically got darker over time.
In the field the color faded as sunlight broke down the pigments. The tendency was to go either mossy green hue or into a Brown tint. Rain, Mud, Whitewash, fuel spills and general abuse also contributed to odd patches, streaks, and blemishes. Tanks were repainted in the field. Sometimes markings were removed or re-applied, and the most common US camoflage was black bands. FS 24087 is the offical color and Most serious modelers consider Tamiya’s OD to be the strictest match. One thing to always consider is the scale of your vehicles. The smaller it is, the more accurate a lighter mix will look.
With the resurgence of Allied armor at hand....
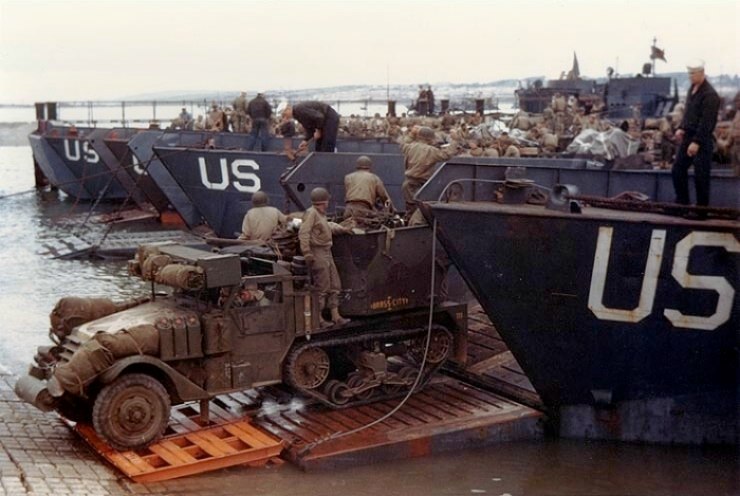
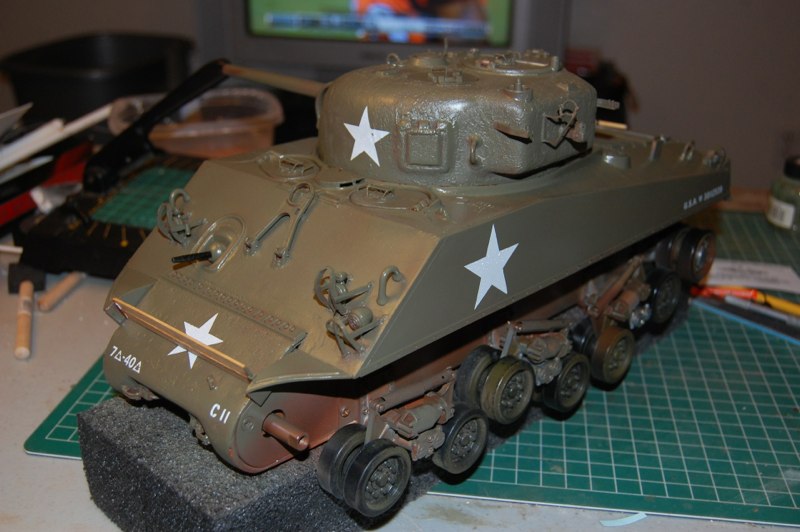
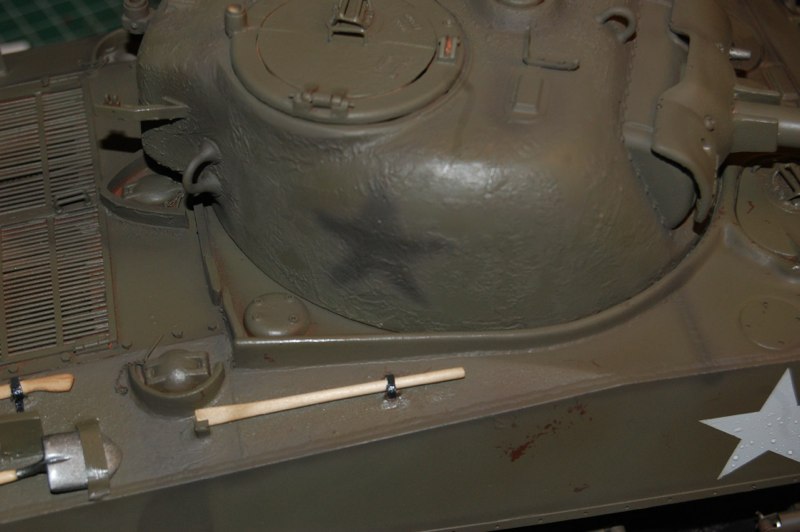
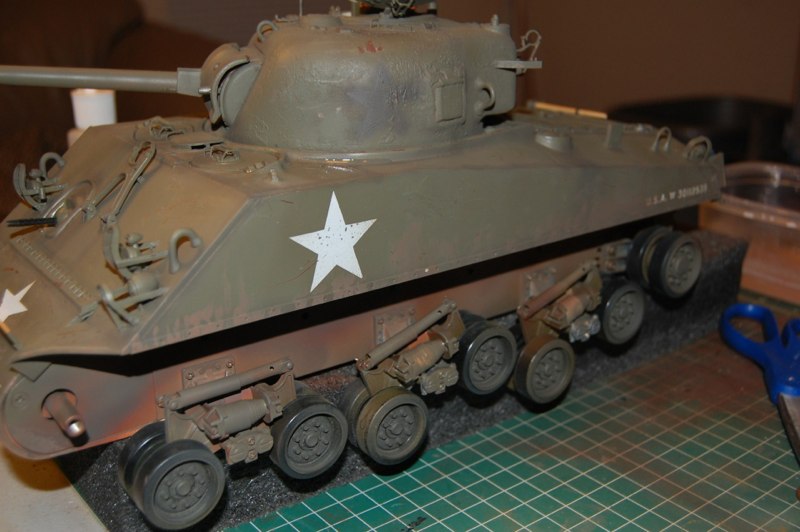
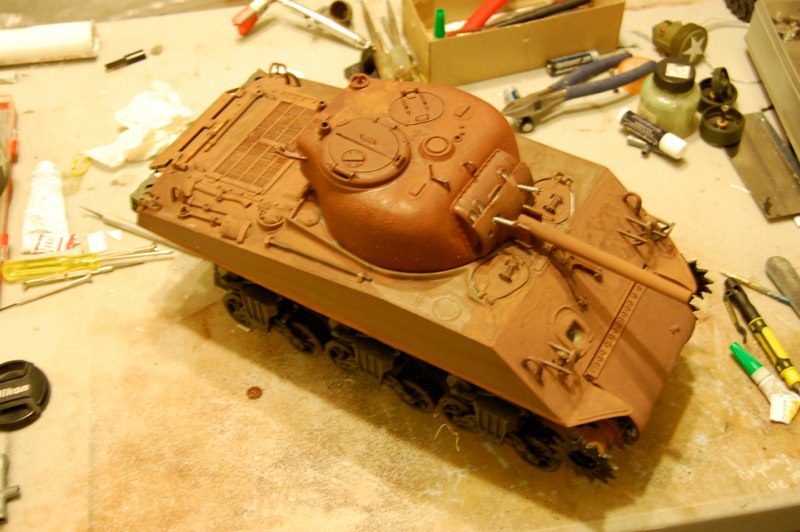
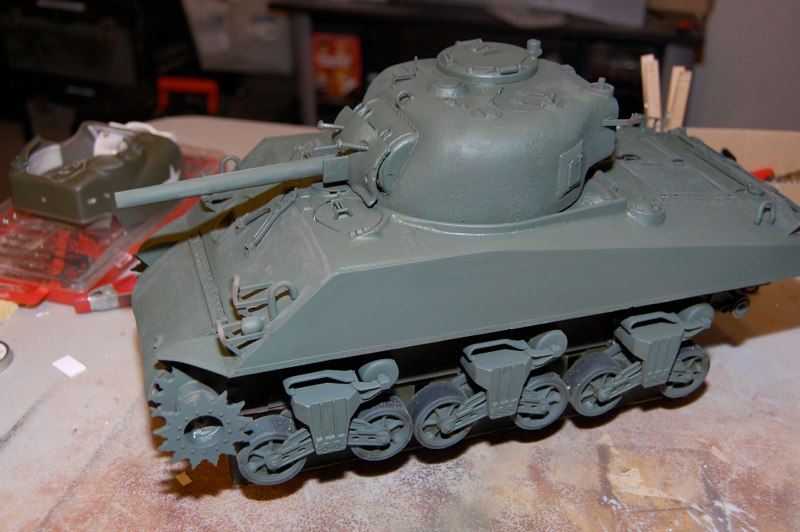
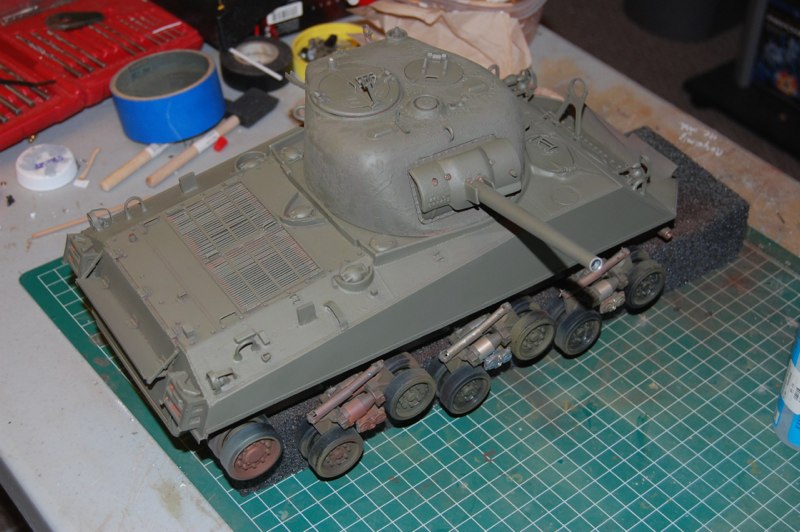
We also see restored vehicles Painted a variety of colorsThese m4a1s headed to normandy represent the ‘flavor’ of Od I like best. This is attainable with the Testors Acrylic and Enamel Model master paints.Color ww2 pics are hard to come by but show the standard markings and camoflage as well as the colors of the Stowage. This m15 also has the black bands and yellow lettering that was common.Here is a Jumbo done in a dark Green Late war-Post war finish. Most Black and white photographs make it really hard to determine the real shade and often the memory of the crews is unreliable.Clear coat for decals applied. to hide the edges of the film or ‘carrier’ trim the decal as much as possible and apply the decal over gloss or clear coats. Future floor wax is a good substitute for more caustic dull coat or lacquer.using tamiya Khaki drab, I airbrushed out the stars and began to hit the edges of the armor plates and other corners. this gives the model depth overall.fuel stains from the gas caps. Made by diluting the khaki drab.allied crews painted over the stars of their vehicles to remove the “target” they became to german gunners.continue the panel shading. don’t worry if it looks too dark at this stage, later dry brushing and filters will even it out.DSC_0015.JPGUsing tamiya JGSDF brown, I began adding mud and dirt to the area above the tracks. i used a brush and lightly streaked the paint.this is just the beginning of the weathering so do not worry about too many small mistakes.Coming along nicelyMy next sherman will be painted a bit darker to represent the more clinical olive draB as told to me by the experts.After my favorite brown coat I used TamiYa field Grey as the first green color. It is also a good substitute for Russian Armor green.next comes the testors Model Master Acrylic OD sprayed in the center of each panel with the edges left darker green.I marked the vehicle in my normal fashion and then began to add filters. my first one this time was Sky grey. I lightly misted it over the areas of most weathering. Then I painted the lower areas with tamiya red brown for the dirt and mud =collected on the tracks.the finished product amongst my Other VVSS projects.A representation of a darker OD, specifically tamiya od from the bottle. Many authors of ww2 material think this is the way to go..testor’s regular od from non model master spray canNot bad in the sunlight.Rust red or brown base coat.Testors ACRYLIC OD coatTestor’s OD from spray can -model master.Regular od with tamiya nato black oversprayedMost of us begin with an instruction sheet like this...m4-sherman paint color OD.This Jumbo is painted in the mid war shade of olive drab that I prefer. Testors OD out of the bottle of Regular spray can matches this well.