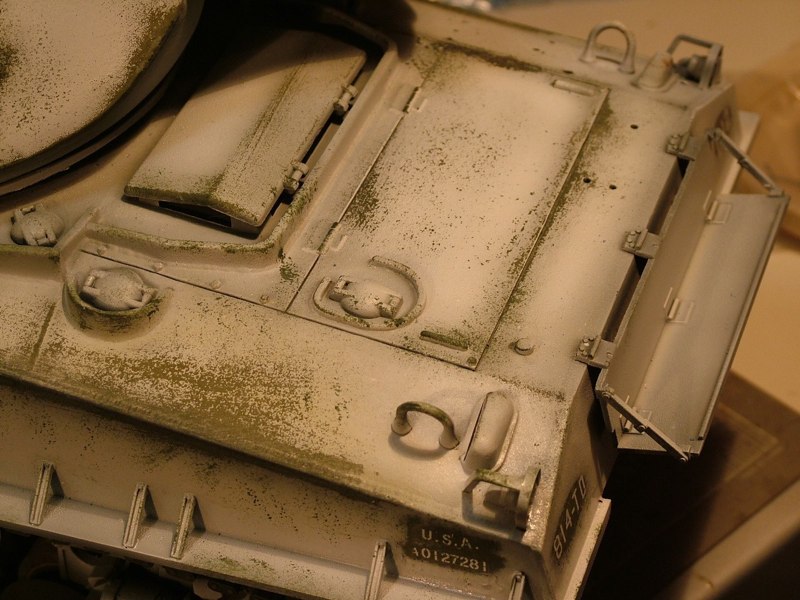
When the weather dips below 30 degrees the battlefield changes dramatically and as you can guess, snow becomes a factor. Dark green or brown vehicles stand out in a sea of white and grey. Camoflage in this climate most often was Simple.
In the field, the Methods to white-wish were most often Lime, water and a brush, mop, or rags. Some vehicles were actually painted with Spray guns or rollers but that was rare. Rain, Mud, fuel spills and general abuse also contributed to odd patches, streaks, and blemishes. Bed Sheets and linens were a quick method to mask a gun tube or to simply break dow the outline of a fighting vehicle.
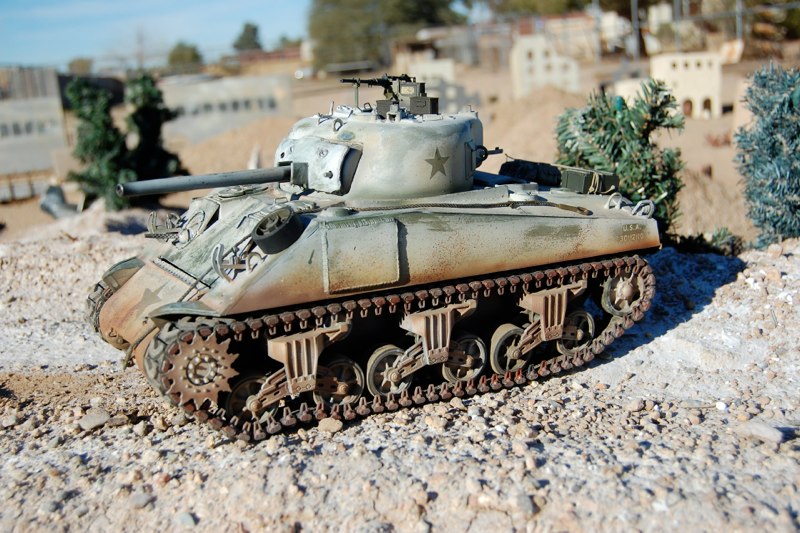
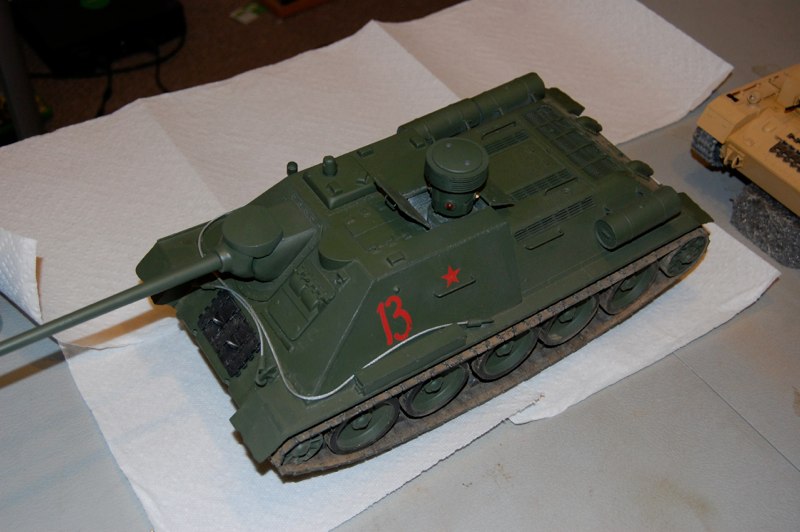
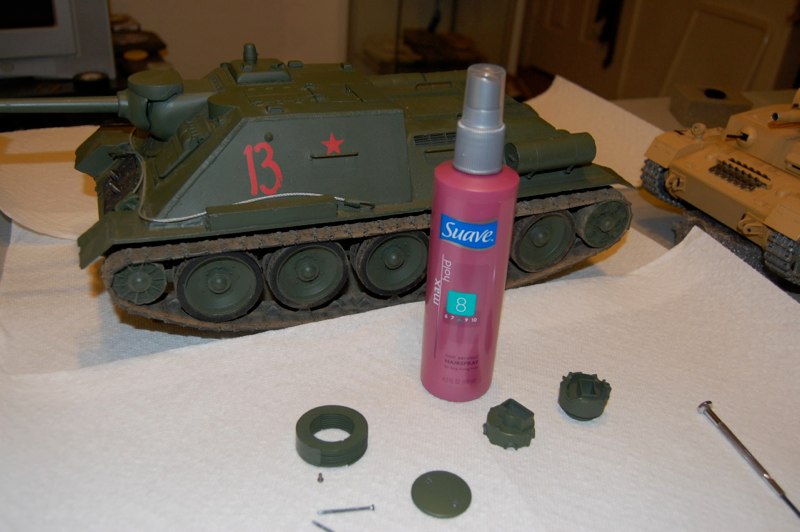
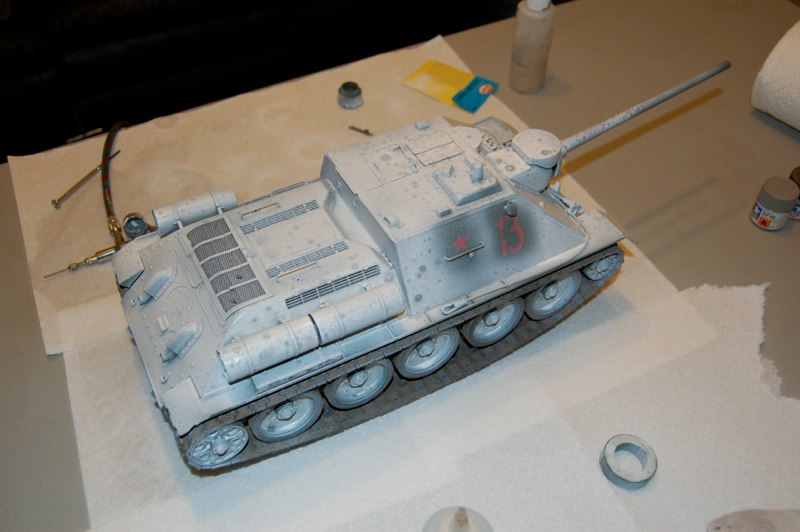
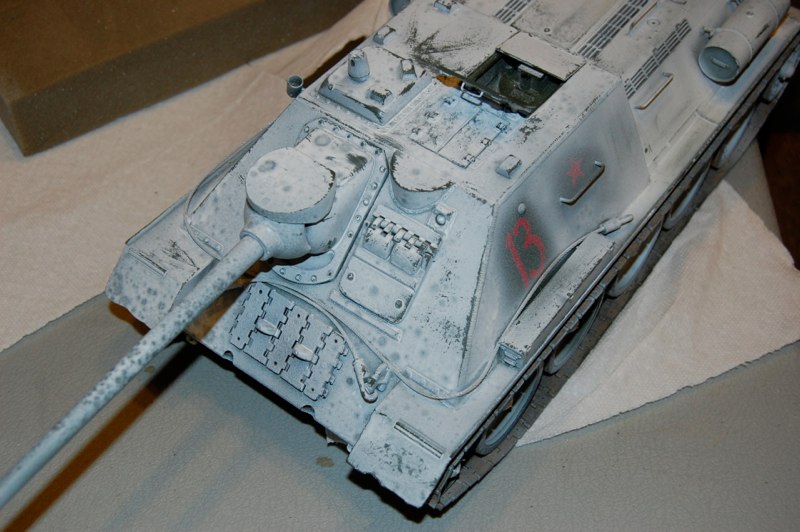
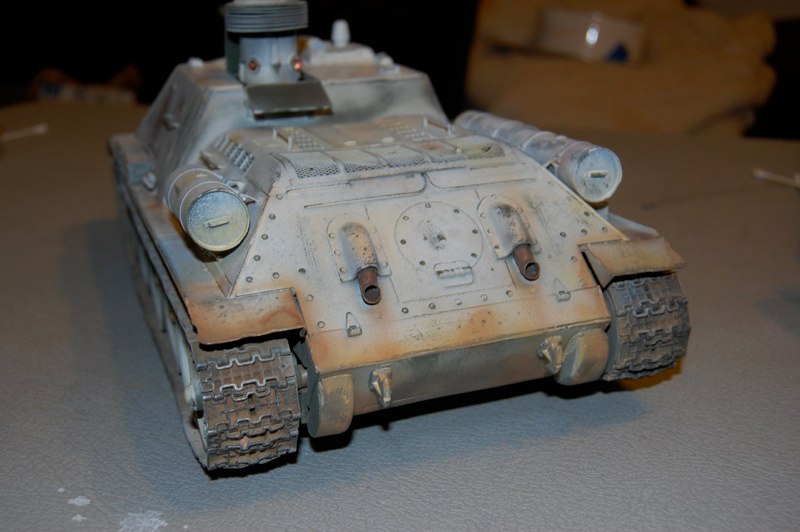
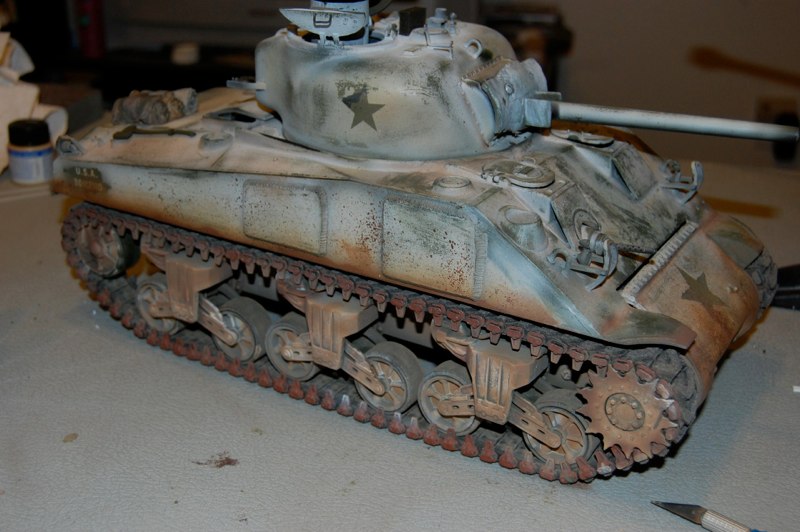
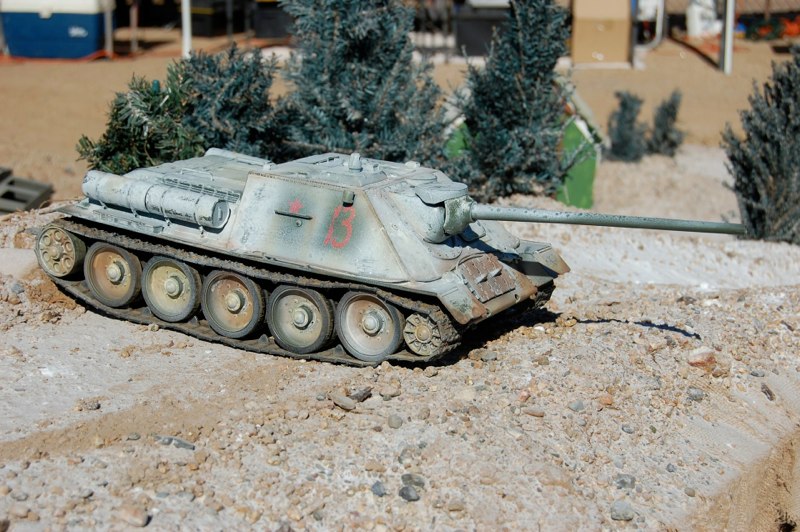
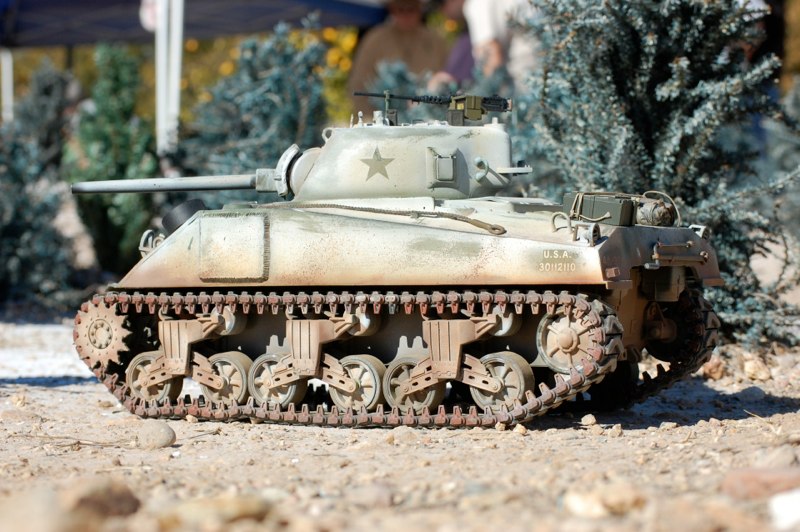
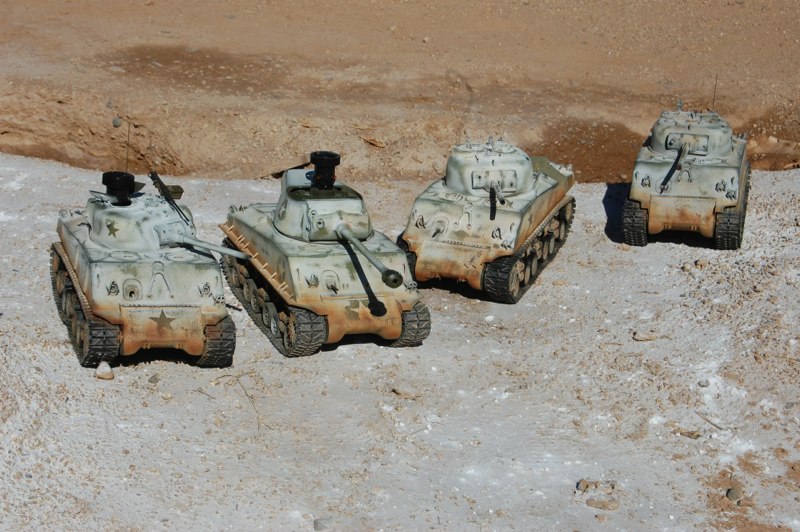
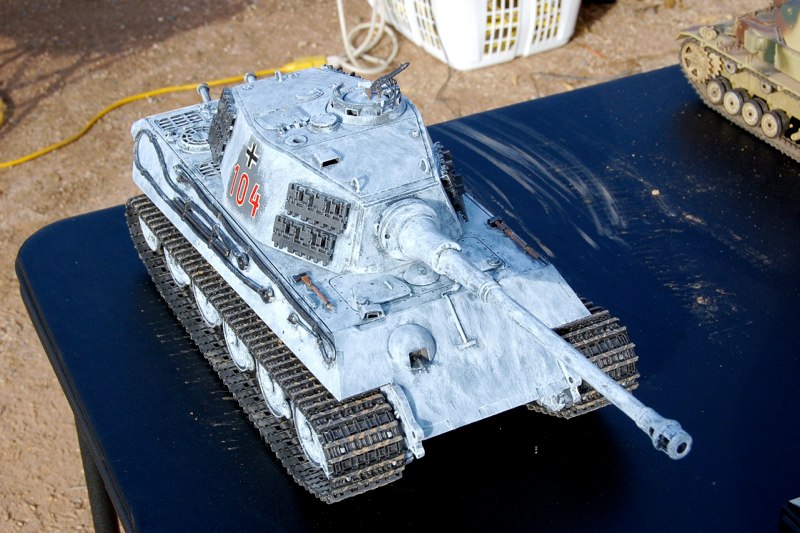
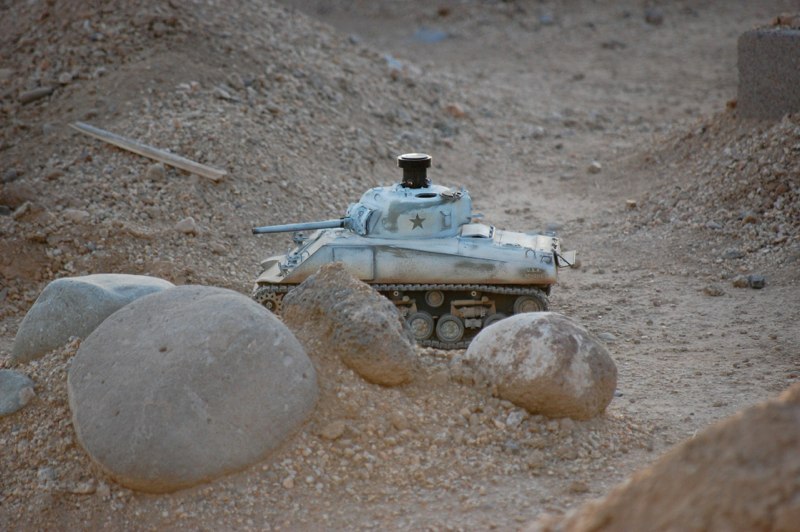
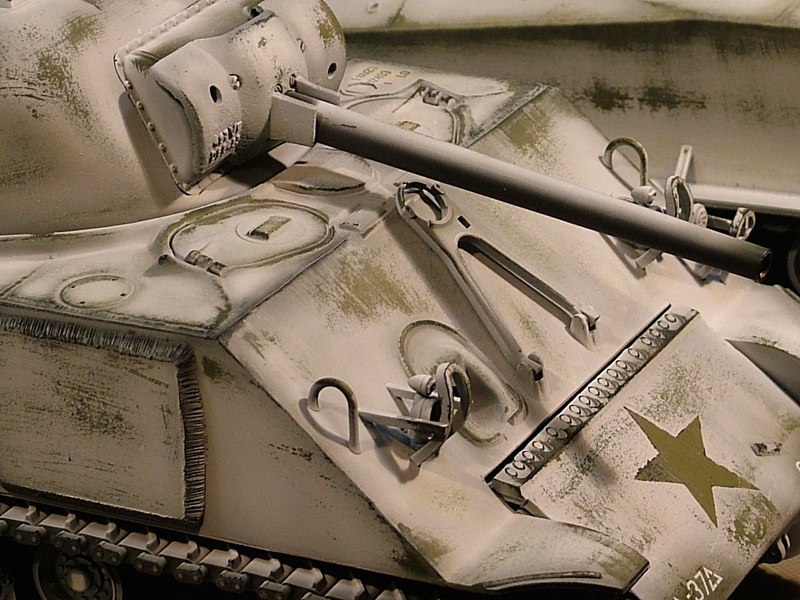
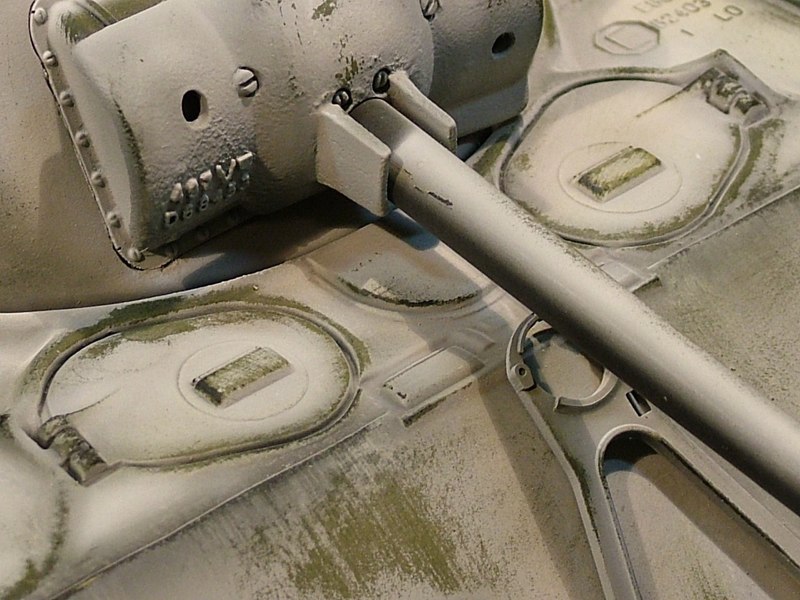
After the mods and repaint, we now have a bastogne m4Craig Pierce and I (ethan) saw this tank and realized the potential of the club and this hobby. You might say this tank really started DAK.Jeff O wanted a detailed paint job on the SU-85 and decided a white wash was for him.The apple is always part of DAK buildsI used some cheap pump hair spray and liberally spritzed it on the tank.I then air brushed diluted Tamiya acrylic whit over the vehicle and let it dry.Apple too of courseafter about 30 minutes I began to rub it with an old sock until chips and flecks came off all over.I airbrushed tamiya earth red and other browns over the running gear to make it really grungy looking.Repeat all over. In some areas I used more tamiya thinner to weaken the white areas and make them easier to attack.Lots of grunge and some details left cleaner, as if they had been replaced later.I repeated the same process on the finished m4 conversion.Looks like it is in bastogne.DSC_0168.JPGOn the field. Looking good!Blends in with our field exactly.doug would be proud!Lethal on the field as well. The patton’s are hard to beat!ON the bench with Jeff o’s Sherman.THe Gang on the field.Russian stufF was always dirtyCraig later did a KV-2 on commission using many of the same techniques.Dak’s first white washed tank was Dave jone’s clutch steer KT painted with a brush in the field applied style over Panzer Grey.Craig Pierce was commissioned later to paint a winter tiger for Duane pickett. Craig used a similar method on a series of shermans.Ethan inherited the m4 from doug Sharpe and decided to modify it a bit.The first F/O Winter vehicle to hit the field was Jeff Ousleys’ Snow Panther. He did a simpler job starting with overall white and applying Dark Green.My forward progress on my Sherman now includes all of the "other" tanks in the Bastogne group build.
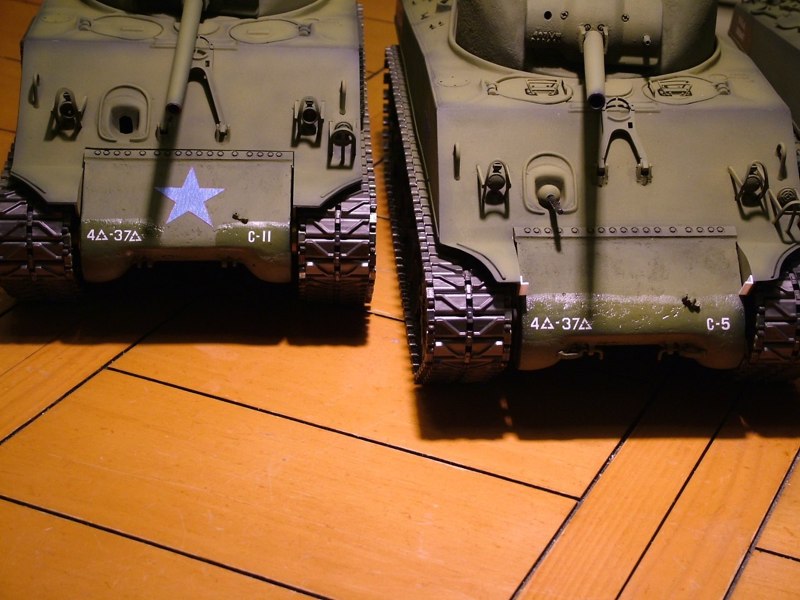
All of the tanks have now been pre-shaded in black, sprayed with numerous thin coats of lightened olive green, with plenty of black left showing through to help soften the edges and add depth of color.Individual masks were cut from 3M blue tape (long mask) for the "stars" that will be left in olive green. Although I want all of the tanks to look like they belong to the same tank battalion I also want each tank to keep it's unique individuality. So one tank has stars on the turret and hull, one has stars on the turret and transmission cover and the third has stars only on the hull sides. Then I decided to do the M-36 in white stars (the white wash will be "washed away" to show the green undercoat around the white stars). Each tank will also get unique stowage and equipment as well (as you can also see one has had applique armor added, and mine has the brackets and wooden shelf added to the front end)All of the tanks had several coats of future applied directly to the areas the decals were to be added to help prevent silvering. Then the markings were added using decal sets from the Sherman kits themselves as well as one set from the Tamiya Pershing and some Archer dry transfers (Thank you Ethan). Each tank was marked as part of the 4th Armored Divsion, 37th tank Battalion, Company "C" and each tank got it's individual number. Each tank also received it's own shipping code added to the rear of the hull side. The M-36 was attached to the 814-TD (Tank destroyer) battalion. A couple more coats of Future to seal the decals and we should be into white wash tomorrow.Finally got far enough along on the beginning stages of whitewashing two of the tanks to have something to share. Please bare in mind that this is just the first phase, but I wanted to share some in-progress photos.After applying the hairspray in several generous coats from an aerosol can I set the tanks aside to dry for a night or two. Then using Tamiya white acrylic (about 30%) heavily thinned with a combination of Tamiya thinner (about 20%) plus isopropyl alcohol ( approximately 30%) and distilled water (20%) I shot several light coats of whitewash. I started in the center of each panel or section and worked my way out to the edges, intentionally leaving more green visible at all of the edges and corner. This helps to show subtle signs of wear on the white paint.Then immediately after I was done spraying the white (while the paint is still fresh) I used a terrycloth rag, Q-tips, and a scouring pad moistened with plain tab water and started rubbing the paint away on the edges and high points. I also rubbed through some of the large flat areas to show additional wearing and abuse to the paint. By letting the water sit in some specific areas a little longer or rubbing a little harder I was able to start eroding through the green paint as well exposing the underlying black primer.Once I get all 4 tanks to this stage, I will start with the running gear, making things dirty and muddy, along with filters, washes, dry brushing, chipping, and sponging. More to come so stay tuned!Lineup at Ipms meeting.This is the basic look we are going for. White over olive drab. I will use the related pics from the group build from here.White wash can really stand out on a field. The original white washed tank we tip our cap to is Steve patton’s snow tiger. we watched him pick it up off the field, put it on the contest table, and win an award from mr. Tamiya.